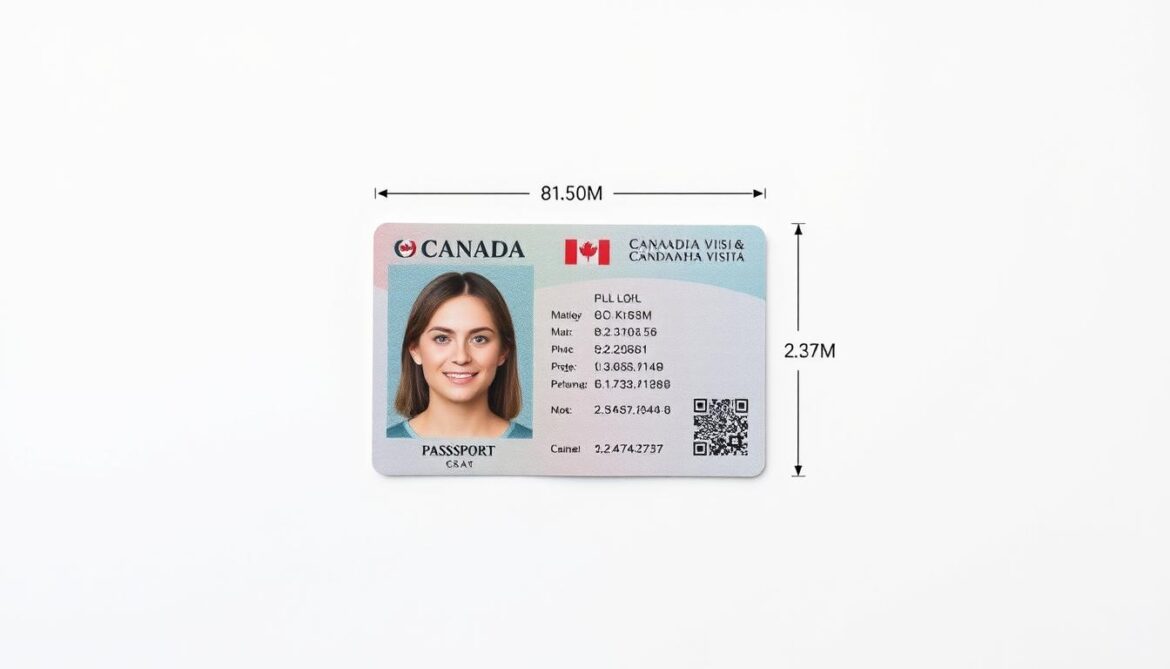
Did you know that over 30% of visa applications face delays due to incorrect documentation? One of the most common mistakes involves submitting non-compliant images. To avoid setbacks, understanding the exact specifications is crucial.
Your application requires two identical images printed on high-quality paper. The frame must measure at least 35mm x 45mm, with your head occupying 31mm–36mm of that space. A neutral expression and direct eye contact ensure clarity.
For official guidance, always refer to the Canada visa portal. Their downloadable PDF outlines every detail, from background color to lighting. Submitting outdated or improperly formatted images risks processing delays.
Remember: these pictures remain valid for only six months. Professional-grade materials and precise adherence to rules streamline approval. Get it right the first time!
Introduction to Canada Visa Photo Requirements
Clear facial visibility is the cornerstone of compliant submissions. Your images must show a full front view from shoulders up, with eyes open and directly facing the camera. This ensures IRCC’s automated systems can verify your identity.
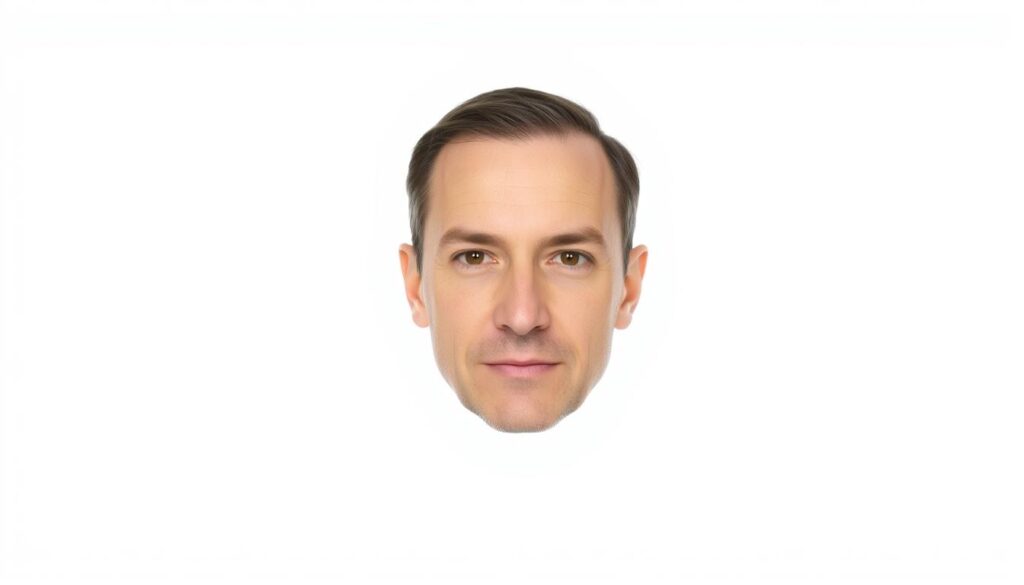
Religious head coverings are permitted, but your face must be fully visible from chin to forehead. Neutral expressions are mandatory—no smiles, frowns, or raised eyebrows. This standard applies to all applicants, including children.
Non-tinted prescription glasses are allowed if they don’t obscure your eyes. Medical accessories like hearing aids are acceptable but should not cast shadows. Always prioritize clarity over personal preference.
| Allowed | Prohibited |
|---|---|
| Religious headwear (face visible) | Hats or sunglasses |
| Prescription glasses (clear lenses) | Tinted or reflective eyewear |
| Neutral expression | Smiling or exaggerated gestures |
For visual guidance, review the official photo examples PDF. It illustrates compliant submissions and common errors. Following these rules minimizes delays in your application.
Photo Specifications for Canada Visa Applications
Meeting exact specifications ensures your application won’t face unnecessary delays. Whether submitting physically or digitally, every detail matters.
Dimensions and Size Requirements
Your submission must fit a 35mm x 45mm frame. For digital files, this converts to 600–1200 pixels square. The head should occupy 70–80% of the frame.
| Physical | Digital |
|---|---|
| Printed on matte paper | JPEG format only |
| No digital edits | sRGB color space |
| Minimum 600 dpi | Under 240kB file size |
Background and Facial Expression
Use a plain white or light grey backdrop. Avoid shadows or patterns. Maintain a neutral expression—no smiles or frowns.
Lighting should evenly illuminate your face. Position the camera at eye level for a full-frontal view.
Digital Image Requirements
Files must meet strict technical standards:
- Resolution: 600–1200px per side
- Compression: Minimal artifacts
- No filters or alterations
Review official examples to ensure compliance. Even minor deviations can trigger rejections.
Common Mistakes to Avoid in Your Visa Photo
Simple oversights can delay your approval by weeks or even months. A shocking 35% of rejections occur due to incorrect head sizing or cropping. To save time and stress, please review these frequent errors.
Incorrect Dimensions or Cropping
Your head must occupy 31mm–36mm of the 35mm x 45mm frame. Common pitfalls include:
- Cropping too tightly, hiding shoulders.
- Using mobile photos with blurry edges.
- Submitting scanned copies (explicitly prohibited).
Even a 1mm deviation can trigger rejection. Always measure before printing on paper.
Non-Compliant Backgrounds or Lighting
Shadows or patterns behind you ruin an otherwise perfect appearance. Follow these rules:
- Background: Plain white or light grey only.
- Lighting: Even, with no glare on glasses.
- Expression: *Neutral*—no teeth visible.
Recent updates allow non-tinted glasses if they don’t obscure eyes. Please review official examples to confirm your setup.
Professional Photo Services vs. DIY: What’s Best for You?
Choosing between professional services and DIY methods can impact your application’s success. Government guidelines favour certified studios for guaranteed compliance. However, home setups work if you follow strict rules.
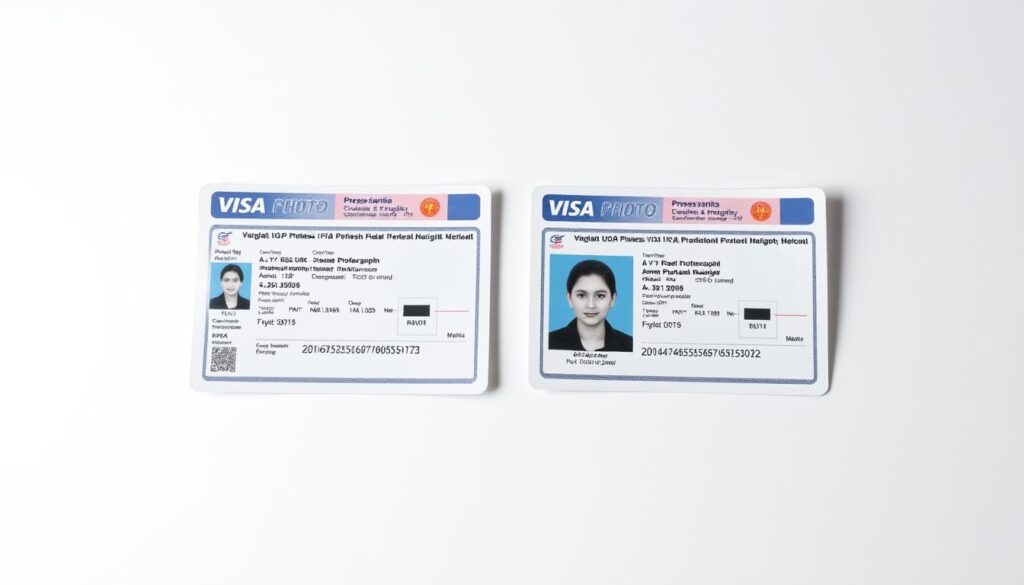
Professional studios ensure lighting, dimensions, and backgrounds meet exact standards. Their error-free guarantee saves time but costs $15–$30. DIY methods are cheaper but risk rejection due to subtle mistakes.
| Professional | DIY |
|---|---|
| 98% acceptance rate | 65% success (with editing apps) |
| Includes retakes | No guarantees |
| Higher upfront cost | Free–$10 (print at home) |
Avoid retail kiosks—many produce non-compliant prints. For DIY, use these steps:
- Shoot against a plain white wall with natural light.
- Use apps like Passport Photo Maker for cropping.
- Print on matte paper at 600 dpi minimum.
Temp workers often rush submissions. Investing in quality upfront prevents delays. Always verify your final image against official examples before submitting.
Conclusion
Submitting the right documentation is your final step toward approval. Ensure your images meet all requirements and remain valid for six months. Significant appearance changes, like surgery, require updated submissions.
Recap these essentials:
- Neutral expression and plain background
- Accurate head sizing (31mm–36mm)
- No digital edits or shadows
If your deadline nears, act now. Last-minute submissions risk delays. Always refer to the Canada visa portal for official specifications.
Keep backup copies and verify every detail. Your application depends on precision—don’t leave it to chance.


