Did you know Canada plans to welcome over 351,000 new permanent residents in 2021? Meeting the exact specifications for your application is crucial—especially when it comes to your photo. Even small mistakes can lead to delays or rejections.
The Canada Visa Portal has strict guidelines for submissions. Whether you apply digitally or on paper, your resident card photo must follow IRCC standards. This ensures smooth processing and avoids unnecessary setbacks.
This guide simplifies the rules, helping you submit a compliant image quickly. From lighting to background, every detail matters. Get it right the first time and move closer to your Canadian dream.
Understanding PR Photo Requirements for Canada
Your journey to becoming a Canadian permanent resident starts with a simple yet crucial step—your application image. Immigration, Refugees and Citizenship Canada (IRCC) enforces strict rules to ensure security and accuracy. Even minor deviations can lead to delays or rejections.

Why Your Image Must Meet Strict Guidelines
IRCC uses biometric data to verify identities. A compliant image helps prevent fraud and ensures smooth processing. Non-compliant submissions may trigger additional reviews or legal scrutiny.
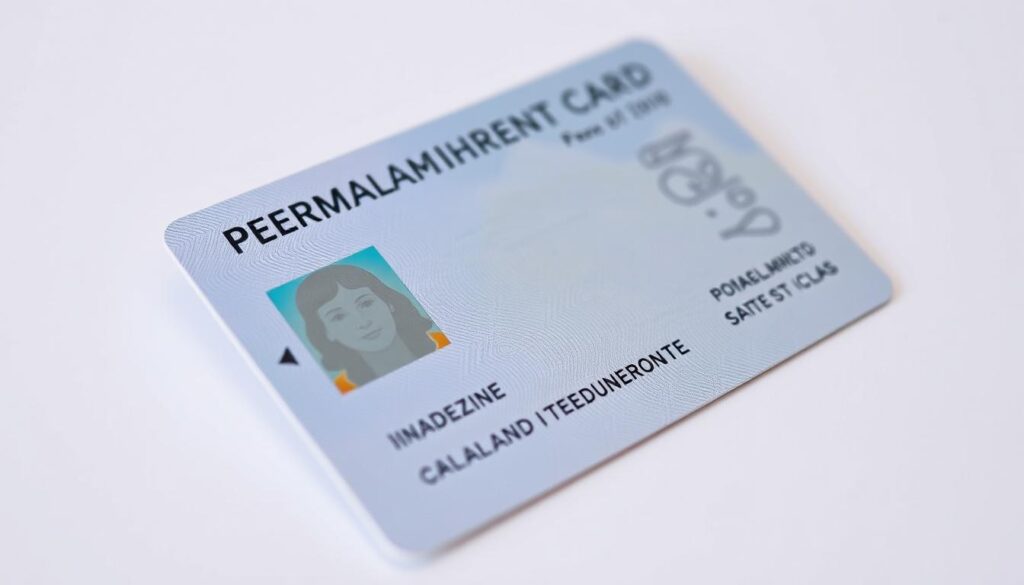
Under Canadian immigration law, your permanent resident card serves as proof of status. An invalid image could jeopardize your application’s validity. Authorities cross-check details against passports and other documents.
Digital vs. Printed Specifications
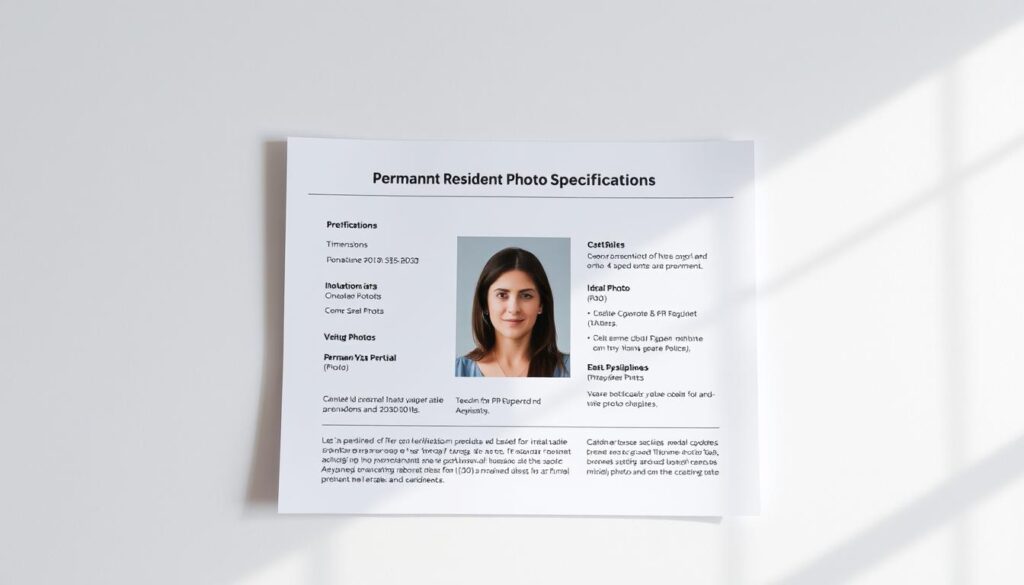
Digital applications require high-resolution files (JPEG/PNG) with neutral backgrounds. Printed submissions need precise 35mm x 45mm dimensions. Both formats demand a neutral expression and direct eye contact.
- Digital: File size under 4MB, face covering 70–80% of the frame.
- Printed: Matte or glossy paper, no shadows or reflections.
Whether you apply online or on paper, double-check the photo specifications. A small error today could mean months of waiting tomorrow.
Digital PR Photo Requirements for Online Applications
A single digital file can make or break your immigration application—here’s how to get it right. The Canada Visa Portal rejects submissions that fail to meet technical standards, so precision is non-negotiable.

Format, Size, and File Specifications
Your image must be between 715×1000 and 2000×2800 pixels. Save it as a JPEG under 4MB to ensure smooth uploads. Compression artifacts or low resolution may trigger rejection.
For scanned prints, use 600 DPI to avoid blurring. The face and shoulders should fill 70–80% of the frame—no tilted heads or cropped hairlines.
Lighting and Background Guidelines
A plain white backdrop is mandatory. Avoid shadows or patterns that distract from your face. Position yourself 1–2 meters from the background to prevent shadows.
Natural, even lighting works best. Harsh flashes or backlighting can obscure features. Test shots help adjust brightness before final submission.
Facial Expression and Posture Rules
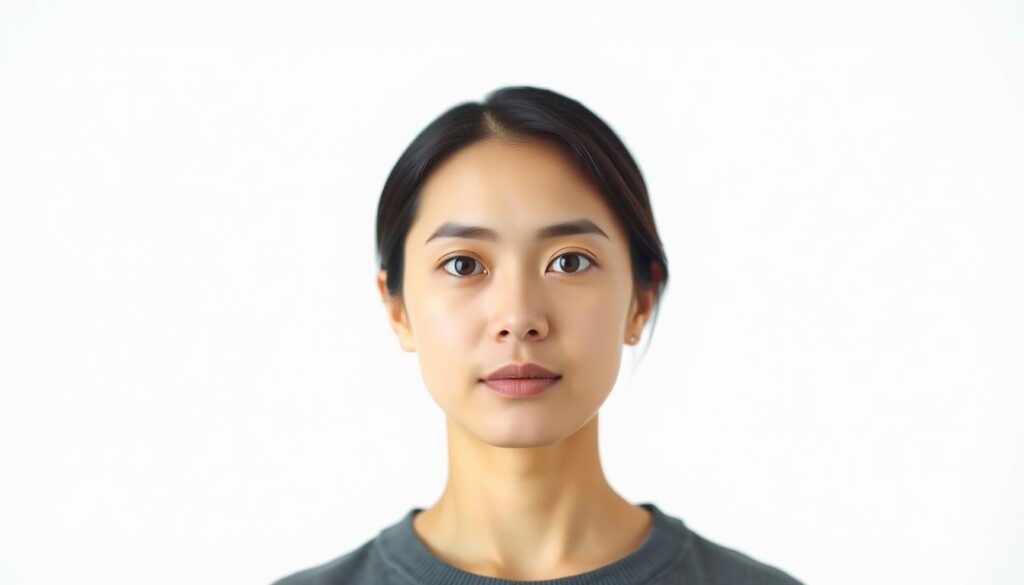
Your eyes must be open and visible, even with prescription glasses (no glare). Maintain a neutral facial expression—no smiles or frowns.
Face the camera directly, with shoulders squared. Hats or headwear are only permitted for religious or medical reasons. Retouching or filters are strictly prohibited.
Printed PR Photo Requirements for Paper Applications
Paper applications demand precision—your printed image must meet exact IRCC standards to avoid delays. Unlike digital files, physical copies leave no room for edits once submitted. Follow these guidelines to ensure compliance.

Exact Dimensions and Head Size Measurements
Your submission must measure 50mm x 70mm, with the head height between 31–36mm. Use IRCC’s template to confirm positioning—eyes should be centred squared within the frame. For international applicants:
- Convert millimeters to inches (50mm ≈ 1.97in) if using non-metric tools.
- Avoid cropping; the chin-to-crown measurement is critical.
Professional Printing Requirements
Home printers often fail IRCC’s quality checks. Opt for printed photos from certified retailers like Walmart or Shoppers Drug Mart. Key specs:
- Use matte or glossy photo paper without texture.
- Ensure natural skin tones—no retouching or filters.
- Reject prints with shadows, glare, or uneven borders.
Information to Include on the Back
Every physical copy needs:
- Your name complete address and date of birth (handwritten or stamped).
- Studio details (name, address, date) if taken professionally.
- No staples or tape—attach loosely with paperclip if required.
Double-check photo specifications before sealing your application. A compliant image accelerates approval timelines.
How to Take a Compliant PR Photo
Getting your image right for your permanent resident application doesn’t have to be complicated—here’s how. Follow these steps to ensure your submission meets all IRCC standards, whether you take it yourself or hire a professional.

Step-by-Step DIY Guide
Use your smartphone’s rear camera for higher resolution. Set it to 12MP or higher and disable filters. Position yourself 1.5 meters from a plain white wall to avoid shadows.
For DIY lighting, face a window during daylight hours. Use a lamp with a white bulb to fill in shadows if needed. Make sure there’s no glare on glasses or shiny surfaces.
- Wardrobe tip: Wear solid colours that contrast with the white background (e.g., navy or black).
- Apps to try: PhotoAiD and 7ID scan for compliance issues before submission.
Working With a Professional
Ask photographers if they’re familiar with IRCC requirements. A reputable studio will:
- Provide unedited images with neutral expressions.
- Use matte paper for printed copies.
- Include their studio details on the back.
Costs range from $15–$50 CAD for studios versus free DIY options. Test your final image against common rejection triggers like incorrect head size or uneven lighting.
Special Considerations for Children and Newborns
Submitting an application for children or newborns? Special rules apply to ensure compliance. Infants can’t follow standard posture or expression guidelines, so IRCC allows adjustments. Here’s how to capture an image that meets requirements without stress.
Modified Rules for Infant Photos
For babies under 3 months, the car seat method works best. Lay a white blanket over the seat to eliminate shadows. Ensure the baby’s face is fully visible and centered.
Approved props include:
- White blankets or towels for support (no patterns).
- Parent’s hands—hidden beneath the blanket to steady the baby.
Pacifiers, toys, or siblings are prohibited. The final picture must focus solely on the child’s face and shoulders.
Handling Challenging Expressions
Neutral expressions are preferred, but IRCC allows flexibility for infants. Key age-based tolerances:
- 0–3 months: Eyes can be partially closed; slight frowns accepted.
- 4+ months: Eyes must be open; no exaggerated smiles.
Note the submission date—newborn images expire if not used within 6 months. For older kids, ensure they face the camera directly, with no tilted heads.
Medical and Accessibility Accommodations
IRCC provides specific accommodations for applicants with medical conditions or disabilities—here’s what you need to know. The agency ensures fair processing by adapting photo specifications for mobility aids, medical devices, or religious practices. Always include supporting documents to explain exceptions.

Guidelines for Wheelchair Users
If you use a wheelchair, drape a plain white blanket over the chair to create a neutral background. Position yourself squarely facing the camera, ensuring your eyes and face are fully visible. IRCC allows:
- Adjustments for posture if you cannot sit upright.
- Caregivers to assist with positioning (they must stay out of frame).
For nasal cannulas or oxygen tubes, ensure they don’t obscure facial features. Submit a doctor’s note explaining medical necessity.
Rules for Headwear and Medical Equipment
Religious headwear is permitted if it doesn’t cast shadows or cover your head beyond the hairline. For medical devices like hearing aids or prosthetics:
- Ensure the device is visible but doesn’t dominate the frame.
- Provide a physician’s statement detailing its purpose.
Chronic conditions may qualify for exceptions—contact IRCC before submitting. Use adaptive lighting to reduce glare on glasses or reflective surfaces.
Common PR Photo Mistakes to Avoid
Submitting an incorrect image is one of the top reasons for delays in processing Canadian immigration applications. Even minor errors can lead to rejection, forcing you to restart the process. Knowing what to watch for saves time and frustration.
Technical Errors That Cause Rejection
IRCC automatically flags submissions that don’t meet technical standards. Avoid these pitfalls:
- Expired images: Photos older than 6 months are invalid—even if nothing has changed.
- Home printing issues: Low-quality prints with pixelation or incorrect sizing often fail.
- Background failures: Textured or off-white backdrops trigger instant rejection.
Eyeglass glare is another common issue. Tilt your frames slightly downward or remove them if reflections persist. Test your final image with IRCC’s online validator before submission.
Frequent Appearance-Related Issues
Your facial features must be fully visible and natural. Seasonal wardrobe choices like scarves or bulky sweaters can obscure your neckline. Stick to simple, contrasting colours.
| Mistake | Solution |
|---|---|
| Heavy makeup or jewelry | Keep it minimal; avoid shiny accessories |
| Hair covering eyebrows | Pull back loosely; no extreme styles |
| Shadows under chin | Adjust lighting to eliminate uneven tones |
Remember, your application depends on clarity. Double-check every detail against IRCC’s latest guidelines to ensure approval.
Conclusion: Ensuring Your PR Photo Meets All Requirements
Crossing the finish line for your Canadian immigration journey starts with one verified image. Double-check head size, lighting, and background against IRCC’s permanent resident guidelines. A compliant submission accelerates approval—92% pass initial review when all requirements are met.
Use the Canada Visa Portal upload tool to validate your digital file. For printed copies, ensure the studio stamps the back with their details. Professional services can spot errors like glare or incorrect dimensions before submission.
If rejected, IRCC typically responds within 30 days. Keep unedited copies ready for re-submission. Visit canada.ca/immigration for official contacts. Your Canadian future hinges on precision—take this final step with confidence.


