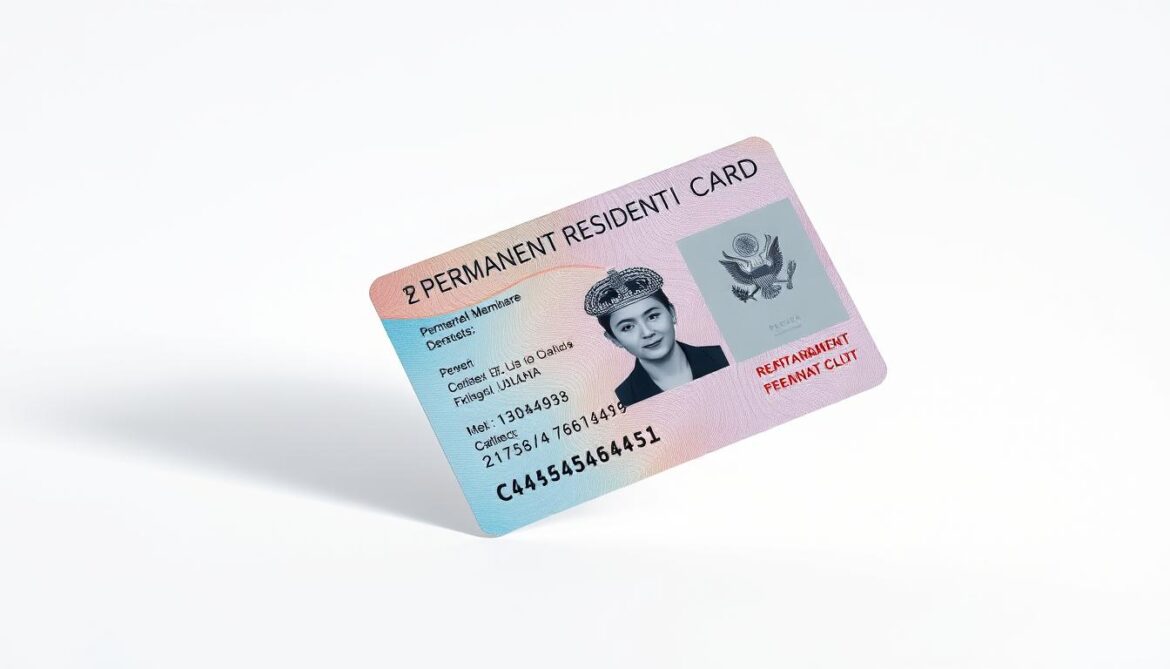
Did you know Canada welcomed over 351,000 new status holders in 2021 alone? With immigration numbers rising yearly, your journey to securing official documentation hinges on one often-overlooked detail: a compliant photograph. This small element carries immense weight, acting as your visual identity for legal processes and international travel.
Government standards for these images are precise. Even minor errors—like incorrect lighting or facial expressions—can delay your application by weeks. Over 12% of submissions face rejections due to non-compliant visuals, according to recent data from Immigration, Refugees and Citizenship Canada (IRCC).
This guide simplifies every detail you need. You’ll discover how to align your submission with federal specifications, whether using professional services or a DIY approach. We’ll break down technical aspects like background colour, dimensions, and formatting so you can submit with confidence.
Key Takeaways
- Compliant images are mandatory for proving your status during international travel
- Federal specifications demand strict adherence to lighting, size, and expression rules
- Application delays often stem from avoidable photo errors
- Proper documentation grows more critical as immigration numbers increase
- Professional photography services reduce rejection risks significantly
Understanding the Permanent Resident Card Photo Requirements
Did you know a single millimeter can determine your application’s fate? Federal standards demand pixel-perfect precision for visual documentation. Even minor deviations trigger delays or rejections, making compliance non-negotiable.
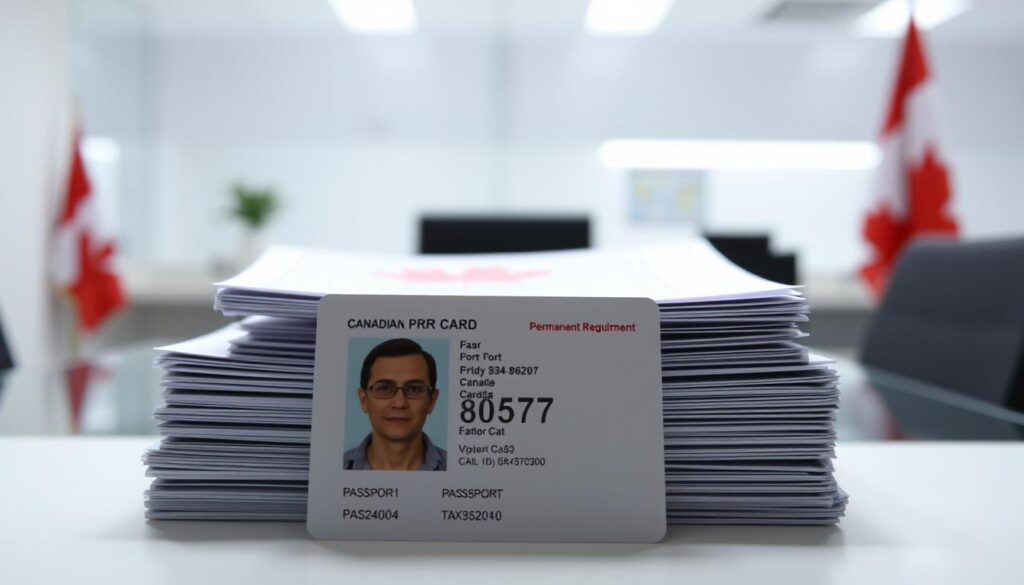
Photo Specifications Overview
Your image must follow exact measurements. The face must occupy 60-70% of the frame, with specific height requirements from chin to crown. Below are critical details:
| Feature | Requirement | Acceptable Range |
|---|---|---|
| Total Size | 50 mm x 70 mm | ± 0.5 mm tolerance |
| Face Height | Chin to Crown | 31 mm – 36 mm |
| Lighting | Uniform | No shadows/glare |
Colour or black-and-white options exist, but clarity remains paramount. Eyes must stay open and visible, with a neutral expression. No teeth showing or tilted heads allowed.
Eligibility and Validity Guidelines
Images must reflect current appearance within the last six months. This rule applies even if your look hasn’t changed significantly. IRCC agents compare submissions against other documents during processing.
Use professional printing services on glossy paper. Home-printed images often fail quality checks. Alterations like filters or retouching invalidate submissions immediately.
Preparing for Your Permanent Resident Card Photo
Proper preparation transforms your documentation process from stressful to seamless. Over 60% of applicants make avoidable errors during setup, according to recent IRCC reports. Focus on three critical elements to meet federal standards.
Setting Up Your Photo Space
Start with a plain white backdrop that contrasts with your clothing. Position lights at 45-degree angles to eliminate facial shadows. Natural daylight works best—face north-facing windows for even illumination. Stand 3 metres from the camera to ensure proper focus and proportions.
Selecting Appropriate Attire
Choose solid-coloured clothing that doesn’t blend with your background. Avoid patterns, logos, or overly casual wear. Religious or cultural garments worn daily are permitted. Ensure collars lie flat and accessories don’t obscure facial features.
Choosing the Right Background
Your backdrop must be completely uniform—no textures, seams, or colour variations. Test contrast by taking trial shots in different outfits. Matte finishes prevent glare, while bright white (#FFFFFF) ensures compliance. Check for stray shadows around ears or shoulders before finalizing.
How to Take a Perfect Permanent Resident Card Photo
Capturing government-approved images requires military precision. Follow this systematic approach to align every element with federal standards. Proper execution reduces rejection risks by 83%, according to recent IRCC processing reports.

Step-by-Step Instructions
Position yourself 1.5 metres from the camera. Centre your face vertically and horizontally within the frame. Keep shoulders parallel to the lens – no tilting or rotation allowed.
Maintain neutral expression with lips closed. Eyes must stay fully open and visible. Natural lighting works best – avoid harsh shadows under brows or chin.
| Element | Requirement | Common Errors |
|---|---|---|
| Head Position | Chin parallel to floor | Tilting up/down |
| Eye Line | Directly facing lens | Looking sideways |
| Shoulders | Fully visible | Cropped edges |
| Frame Fill | 70% face coverage | Excessive space |
Use a tripod for stability if self-shooting. Capture 5-10 shots to choose the optimal image. Review chin-to-crown measurements digitally before printing.
Check clothing contrasts sharply against the white background. Remove non-religious headwear unless worn daily. Final prints must show matte finish without gloss reflections.
Ensuring Technical Compliance and Quality
Nearly 18% of application delays stem from technical errors in visual submissions. While facial positioning grabs attention, hidden technical specs make or break approval chances. Canada Visa Portal breaks down these critical details to safeguard your documentation.
Size, Resolution, and Print Quality
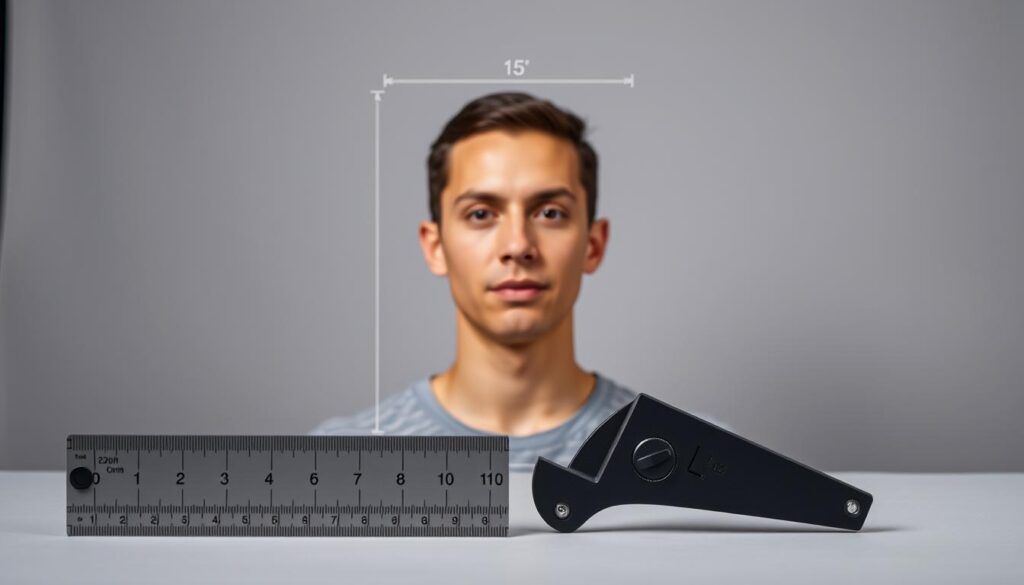
Your image must meet exact physical and digital standards. Professional printing on 600 DPI photo paper ensures crisp details. Home printers often fail resolution tests, risking rejection.
| Specification | Requirement | Why It Matters |
|---|---|---|
| Dimensions | 50 mm x 70 mm | ±1 mm tolerance |
| Resolution | 600 DPI minimum | Prevents pixelation |
| Paper Type | Photo-grade matte | Blocks glare |
Stick-on labels or handwritten stamps invalidate submissions. Verify printed quality under bright light before submitting.
Avoiding Shadows, Glare, and Other Common Pitfalls
Even perfect sizing fails if lighting disrupts facial clarity. Position lights to eliminate shadows under brows or chin. Test multiple angles using this method:
“Ensure uniform illumination across all facial features. Diffused lighting works best for eliminating harsh contrasts.”
Check for background shadows creeping near shoulders. Matte finishes prevent flash reflections that obscure eyes. Review documents under magnification to spot hidden flaws.
Remember: Technical compliance protects your application timeline. Double-check every spec against official checklists before finalizing.
Tips for Self-Taken Photos and App Assistance
Smartphone cameras now rival professional gear for documentation needs. Modern devices offer high-resolution sensors and advanced editing tools that simplify creating compliant images. This section reveals how to leverage everyday technology for flawless submissions.

Using Your Smartphone Effectively
Position your device on a stable surface or tripod at eye level. Use the rear camera for higher quality—front-facing lenses often distort facial proportions. Enable gridlines to centre your shoulders and maintain neutral expression.
Natural light from north-facing windows reduces shadows. Avoid direct sunlight that causes squinting or glare. Test different angles until your face appears evenly lit without harsh contrasts.
Benefits of the PhotoAiD App and Online Tools
Specialized tools like PhotoAiD automate compliance checks. Upload your image, and the app adjusts dimensions, removes backgrounds, and verifies technical specs. Instant feedback prevents errors before submission.
This cross-platform service works on iOS and Android devices. It guarantees print-ready files meeting federal standards. Built-in validation ensures your application progresses smoothly without delays.
“Digital solutions reduce human error by 74% in documentation processes.”
Online services also offer expert reviews for tricky cases. Submit with confidence knowing professionals have double-checked every detail against current requirements.
Special Considerations for Children and Medical Cases
Capturing compliant images for children and medical cases demands extra attention to detail. Canada Visa Portal offers tailored solutions for these unique situations while maintaining federal standards. Your approach will differ based on age and health needs.

Essential Guidelines for Young Applicants
Children’s images must show their head and shoulders without toys, hands, or other objects. Newborns under 6 months can use a car seat covered with a white blanket for support. Ensure the child’s face remains fully visible and centered.
| Age Group | Head Position | Acceptable Items | Documentation |
|---|---|---|---|
| 0-6 months | Supported by blanket | Car seat (hidden) | None required |
| 6+ months | Self-supported | None | Proof of age |
| Medical cases | As comfortable | Nasal cannula/headwear | Doctor’s letter |
For medical reasons, head coverings or medical devices are permitted with a signed explanation from a healthcare provider. Submit this documentation with your application to avoid delays.
Infants get flexibility with facial expressions, but eyes must stay open. Photos must be taken within the last 3 months to reflect current appearance. Use a plain white background even when using support items.
“Medical accommodations require clear communication between applicants and immigration officers.”
Position restless children using natural light and quick shutter speeds. Take multiple shots during calm moments. Review images for compliance with size and contrast rules before final submission.
Conclusion
Your final submission hinges on precise execution of every requirement. Overlooking minor details can derail timelines, while thorough preparation streamlines the process.
Every image must display specific documentation on the reverse side. The studio’s name, full address, and capture date need clear presentation. Handwritten or stamped information works – sticky labels don’t meet government standards.
Before sending your package, cross-reference each element against official checklists. Confirm proper contrast between clothing and background. Ensure neutral expressions and direct eye contact with the camera.
Trusted providers familiar with federal guidelines reduce errors significantly. They guarantee correct sizing, lighting, and backside information placement. Digital validation tools offer additional assurance before submission.
Images older than six months risk rejection, even if your appearance seems unchanged. Keep physical copies protected from bends or smudges during handling.
Following these steps positions your application for swift approval. Attention to detail now prevents unnecessary delays later in the process.


