Did you know that over 30% of permanent resident applications face delays due to incorrect photos? Meeting Canada’s strict specifications ensures your journey to becoming a permanent resident stays on track.
Whether applying online or via paper, your images must follow exact guidelines. The Canada visa portal outlines these rules, but navigating them can be tricky. This guide simplifies the process, helping you avoid rejections.
Key details matter—like ensuring your photo is less than six months old. Digital and printed submissions have different requirements, so double-check before submitting. A well-prepared application saves time and stress.
Ready to get started? Follow our checklist to meet every standard for your permanent resident card. Let’s make sure your application moves forward smoothly.
Understanding Canada’s PR Photo Requirements
Canada’s immigration system relies heavily on biometric accuracy. Your image must match strict standards to avoid processing delays. Even minor errors can add 12 weeks to your wait time.
Why Your PR Photo Matters
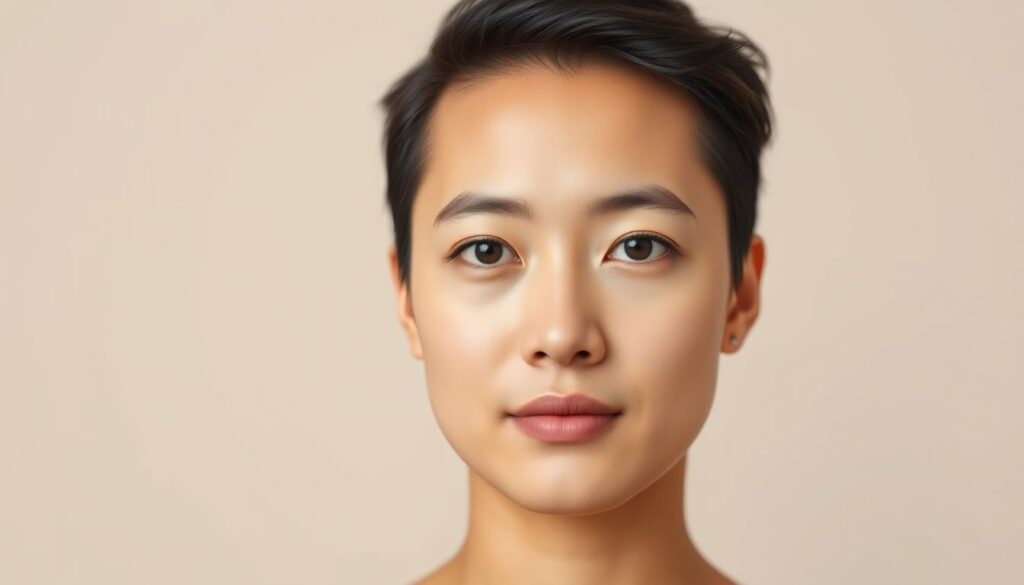
Biometric matching ensures your face aligns with official records. Blurry or incorrect photos trigger auto-rejections in the visa portal. Over 30% of delays stem from non-compliant submissions.
Photos must be less than six months old. Home-printed images often fail due to poor resolution. Professional services guarantee the right size and lighting.
Digital vs. Printed Photo Specifications
Technical requirements differ based on your application method. Below is a quick comparison:
| Feature | Digital | Printed |
|---|---|---|
| Size | 715–2000 pixels | 50×70 mm |
| File Type | JPEG (max 4MB) | Glossy paper |
| Background | Pure white | Matte finish |
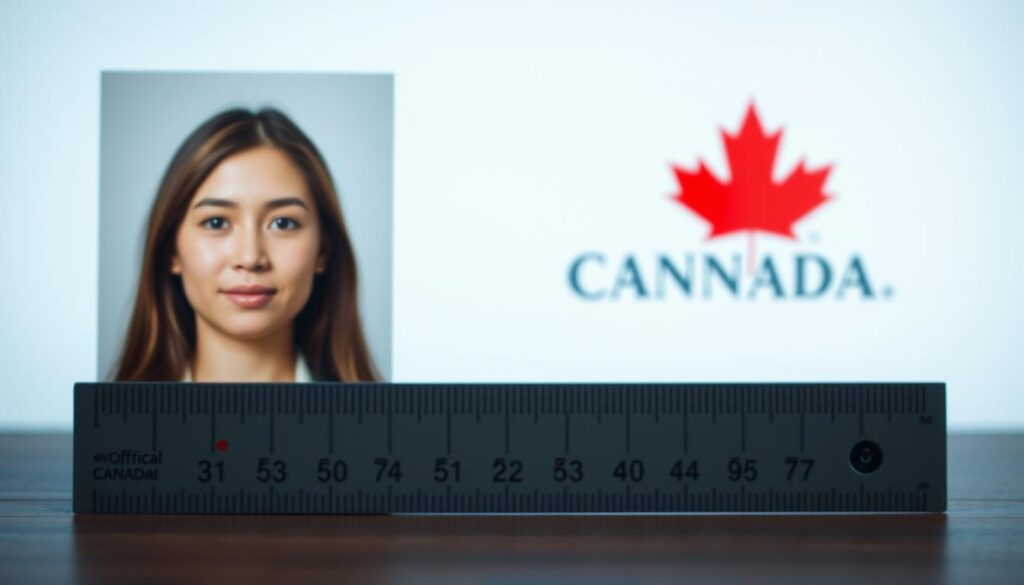
Digital uploads require precise head measurements (31–36 mm). Printed submissions must include a photographer’s stamp. Always check the portal for real-time validation alerts.
Digital PR Photo Specifications for Online Applications
Online applications demand pixel-perfect precision for biometric matching. Even slight deviations in digital photo specifications can cause instant rejection. Follow these guidelines to ensure your submission meets every requirement.
Format, Size, and File Requirements
Your image must be 715×1000 to 2000×2800 pixels. Files larger than 4MB will fail to upload. Save in JPEG format with RGB color profiles for accurate natural skin tones.
- Use a professional scanner or high-resolution smartphone camera.
- Avoid CMYK profiles—they distort colors on government systems.
- Check for portal alerts like “Your photo is being validated” during upload.
Lighting and Background Guidelines
A pure white background is mandatory. Stand 1–2 meters away to prevent shadows. Use soft, even lighting to eliminate glare or harsh contrasts.
For DIY setups:
- Position lamps at 45-degree angles to minimize face shadows.
- Test under artificial light to ensure no yellow or blue tints.
Facial Expression and Appearance Rules
Maintain a neutral facial expression with eyes open and visible. Eyewear is allowed if there’s no glare obscuring your eyes. Head coverings must not cast shadows.
Key tips:
- Face the camera directly with shoulders squared.
- Ensure hair doesn’t cover eyebrows or irises.
Printed PR Photo Requirements for Paper Applications
Paper applications demand precision—your printed submission must meet exact government standards. Unlike digital uploads, physical copies require additional validation steps, including a photographer’s stamp and specific paper quality. Even minor errors can trigger manual reviews, delaying your application by weeks.
Dimensions and Head Size
Your image must measure 50×70 mm, with the head occupying 31–36 mm vertically. Use calipers to verify this—eyeballing often leads to rejections. Ensure your shoulders are visible and squared to the camera.
Key details:
- Glossy or matte finishes are accepted, but avoid textured paper.
- UV-coated prints resist damage during postal handling.
- Home printing is prohibited; use certified studios.
Professional Printing Tips
Choose a studio familiar with Canada’s printed photo requirements. They’ll provide the mandatory stamp with their contact details in French and English. Major chains like Blacks or Walmart typically meet these standards.
For bulk applications:
- Request discounts for multiple copies.
- Verify each print’s photo size and clarity before leaving.
- Store extras in acid-free sleeves to prevent fading.
How to Ensure Your PR Photo Meets Standards
Getting your PR application approved starts with perfecting small details—like your attire and expression. Even minor deviations, such as wearing a turtleneck or smiling too broadly, can trigger rejections. Follow these guidelines to align with Canada’s biometric requirements.

Clothing and Accessories to Avoid
Your outfit must contrast with a pure white background. Avoid solid white tops or turtlenecks—they blend into the backdrop. Darker shades like navy or charcoal work best.
Accessories require caution:
- Glasses: Non-reflective lenses are permitted if they don’t create glare or obscure your eyes.
- Headwear: Religious coverings are allowed but must not cast shadows on your face.
- Military or cultural uniforms: Only permitted if worn daily for religious reasons.
Tips for Neutral Facial Expressions
A relaxed, natural facial expression is key. Practice in a mirror to avoid stiff or exaggerated looks. Keep your mouth closed and eyes fully open.
Lighting affects your skin tone and shadows. Schedule photos during daylight hours for even illumination. If using makeup, apply lightly to cover scars without altering features.
Remember: Red-eye removal or editing is strictly prohibited. Your image must reflect your authentic appearance.
Special Considerations for Child PR Photos
Capturing compliant images for young applicants requires unique preparation. Children’s growth and behavior demand flexible approaches, unlike adult submissions. Follow these guidelines to avoid delays caused by non-compliant child photos.

Newborn Baby Photo Guidelines
For newborn babies (0–3 months), safety and clarity are priorities. Use a car seat with a white blanket draped behind to create the required plain background. Ensure the infant’s head is fully visible, with no supporting hands or toys in frame.
Key tips for infants:
- Schedule sessions during alert periods—avoid sleepy or fussy times.
- Use a neutral expression; natural blinking is acceptable.
- Re-take if the baby’s eyes are closed or mouth is open.
Common Mistakes with Child Applications
Parents often overlook posture rules for toddlers. The child must sit upright without slouching, even if using a booster seat. Siblings cannot appear in the same frame—submit separate images.
Avoid these errors:
- Photo taken more than 6 months prior (update every growth milestone).
- Busy backgrounds or shadows from uneven lighting.
- Head coverings (unless for documented medical/religious reasons).
For uncooperative children, brief breaks and quiet toys (removed before shooting) help. Always keep a recent backup copy in case of lost submissions.
Medical and Accessibility Accommodations
Canada’s immigration policies accommodate diverse medical and accessibility needs. Your application won’t face delays if you provide proper documentation for special requirements. Follow these guidelines to ensure compliance while respecting individual circumstances.
Photos with Wheelchairs or Medical Devices
If you use a wheelchair or other medical devices, position them parallel to the camera. Drape a white blanket over visible parts to maintain a neutral background. Ensure your face clearly visible and free from shadows cast by equipment.
For temporary conditions (e.g., nasal cannulas):
- Submit a doctor’s note confirming the device’s necessity.
- Remove obstructions like tubing during the shot if medically safe.
- Third-party assistants must stand outside the frame.
Religious or Medical Head Coverings
Head coverings are permitted if they don’t obscure facial features. Use transparent fabrics for religious symbols, ensuring your eyes open and eyebrows remain unobstructed. Cultural liaisons can help verify compliance.
| Accommodation Type | Documentation Required | Photo Adjustments |
|---|---|---|
| Permanent (e.g., hijabs) | None if no shadowing | Secure loose fabric |
| Temporary (e.g., post-surgery) | Medical certificate | Minimize bandage bulk |
Chronic conditions require updated notes every 6 months. Always test lighting to avoid glare on reflective surfaces.
Common PR Photo Mistakes to Avoid
Avoiding simple errors can speed up your application approval significantly. Over 23% of rejections stem from incorrect sizing, while 14% involve non-compliant backgrounds. Even lighting issues cause 9% of delays. Here’s how to sidestep these pitfalls.
Incorrect Sizing or Poor Quality
Your image’s photo size must match exact biometric standards. Blurry or pixelated submissions fail automated checks. Use these tips:
- Verify dimensions with pixelation analysis tools before uploading.
- Print on high-quality glossy paper if submitting physically.
- Check provincial variations—some regions require additional stamps.
Non-Compliant Backgrounds or Lighting
A pure white background is mandatory. Shadows or patterns trigger rejections. For perfect lighting:
- Use shadow mapping techniques to eliminate face distortions.
- Avoid overhead lights that create glare on glasses.
- Test exposure with histogram tools for balanced brightness.
Pro tip: Resubmission fast-tracks are available if errors are fixed within 14 days.
How to Take a Compliant PR Photo at Home
Your smartphone can be a powerful tool for capturing a visa-worthy shot without professional help. With the right apps and setup, you can meet Canada’s strict standards from your living room.
Using Smartphone Apps for Editing
Apps like PhotoAiD use AI to auto-adjust your image to government specs. Compare these editors:
- PhotoAiD: Validates head size and background whiteness in real-time.
- Passport Photo Maker: Offers templates for 50+ countries, including Canada.
- Smartphone native editors: Adjust brightness/contrast but lack biometric checks.
“AI editing reduces rejections by 40% compared to manual adjustments.”
DIY Lighting and Background Setup
A $20 ring light and white poster board can create studio-quality conditions. Follow these steps:
- Lighting setup: Place lights 3m away at 45-degree angles to prevent shadows.
- Background: Use matte white paint or fabric—avoid glossy finishes.
- Smartphone camera: Enable HDR mode and set resolution to 12MP or higher.
Test shots under natural light first. Cloudy days provide the softest illumination.
Conclusion
Meeting Canada’s permanent resident card standards ensures your application moves forward without delays. Double-check these critical points before submitting:
Your image must have a pure white background and proper head measurements. Keep a neutral expression with eyes fully visible. Avoid shadows or glare that could obscure facial features.
For quick reference:
- Verify sizing matches exact requirements (digital or printed).
- Use professional tools or studios for guaranteed compliance.
- Contact IRCC directly if you need clarification on special cases.
Seasonal wardrobe choices matter—opt for solid colors that contrast with the background. Store extra copies in a safe place for renewals.
Following these guidelines improves approval rates by over 60%. Local settlement agencies also offer free photo clinics for newcomers.


