Did you know that over 351,000 people received invitations for permanent residency in 2021? With such high demand, ensuring your application meets all standards is crucial—especially when it comes to your photo.
The permanent resident card serves as proof of your status, and even a minor error in your submission can lead to delays. Whether you apply digitally or on paper, the 6-month validity rule for photos is strictly enforced by Immigration, Refugees and Citizenship Canada (IRCC).
This guide simplifies the process by breaking down the latest 2024 specifications. You’ll learn how to avoid common mistakes and submit a compliant image that speeds up approval.
Understanding Canada PR Card Photo Requirements
A single mistake in your submission could delay approval by months. The guidelines exist to ensure uniformity and security. Non-compliance risks rejections, adding 8–12 weeks to processing times.
Why Specifications Matter
IRCC enforces a 12-month validity rule for all submissions. Outdated or altered images are automatically rejected. Even minor errors, like incorrect dimensions, force resubmissions.
For digital uploads, files must be JPEGs under 4MB. Scanned copies aren’t accepted—only professional digitals meet standards. Printed versions need precise 50x70mm sizing.
Digital vs. Printed: Key Differences
Online applications require pixels between 715×1000 and 2000×2800. Physical prints demand studio-quality paper and ink. Retailers like Walmart or Shoppers Drug Mart offer prints for $13.80–$19.99 CAD.
Digital submissions save time but need flawless lighting and resolution. Printed versions avoid upload errors but require exact head sizing (31–36mm). Choose based on your comfort with technology.
Canada PR Card Photo Specifications
Precision matters—even a small error in dimensions can set you back weeks. Your submission must follow exact guidelines to avoid rejections. Below are the critical details for a compliant image.
Dimensions and Size
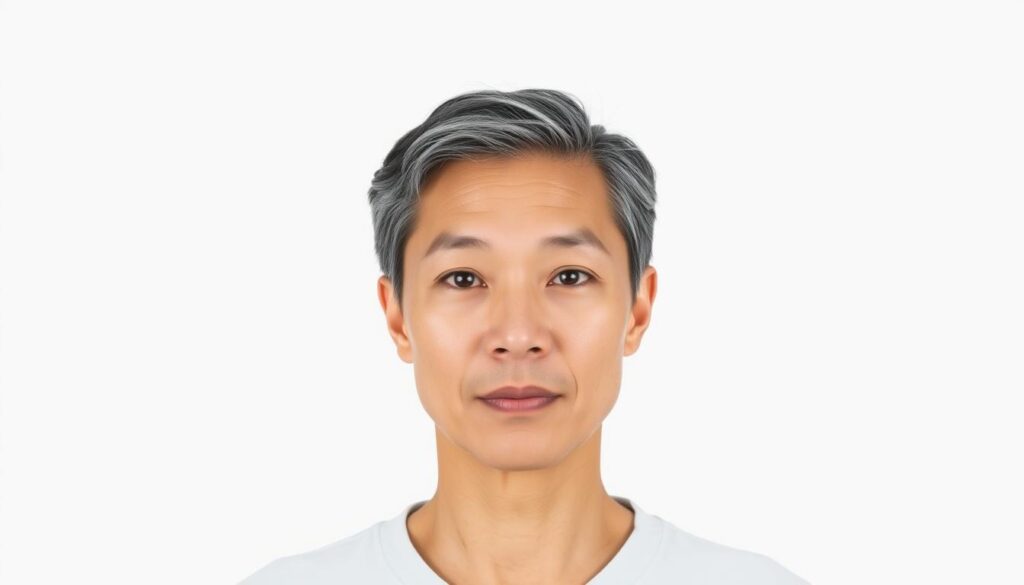
Your face should occupy 31–36mm from chin to crown. Printed copies need a 50x70mm (5x7cm) size. For digital uploads, ensure:
- Pixels: 715×1000 (minimum) to 2000×2800 (maximum)
- JPEG format under 4MB—no scans or edits
Image Quality and Lighting
Use even, studio-quality lighting to prevent shadows under your chin or behind ears. Key tips:
- Avoid flash glare on glasses (if worn)
- Ensure the background is plain white without textures
Facial Expression and Appearance
Maintain a neutral facial expression—mouth closed, eyes open. Relax your jaw for a natural look. Avoid:
- Smiles, frowns, or tilted heads
- Headwear (unless for medical/religious reasons)
Online Application Requirements
Submitting your application online? Digital photos must meet strict technical standards. Even minor errors—like incorrect pixels or lighting—can trigger rejections. Follow these guidelines to ensure a smooth process.
Digital Photo Specifications
Your image needs precise dimensions: 715x1000px minimum. Use a high-resolution camera to avoid blur. Key tips:
- Ensure natural skin tones—no filters or edits.
- Keep a neutral expression; eyes open, mouth closed.
- Use a plain white background without shadows.
Format and File Size
Files must be JPEGs under 4MB. Larger files fail uploads. For compression, try:
| Tool | Best For |
|---|---|
| Adobe Photoshop | Precise resizing |
| 7ID App | Automatic formatting |
Common Upload Issues and Solutions
Many applicants face errors like greyed-out buttons or black-and-white conversions. Fixes include:
“Clear your browser cache if the ‘Add Photo’ button won’t work.”
- Enable sRGB color profile to prevent monochrome shifts.
- Use Chrome or Firefox—Safari sometimes glitches.
Printed Photo Requirements for Paper Applications
Printed submissions require extra attention to detail compared to digital uploads. Physical copies must follow exact sizing, studio endorsements, and backside labeling to avoid delays.
Photo Dimensions and Head Size
Your printed image must measure 50x70mm (2×2.8 inches). The head height—from chin to crown—should be 31–36mm (1.2–1.4 inches). Use a ruler app to verify this before printing.
Common pitfalls:
- Heavyweight paper (over 120gsm) gets rejected—it warps in scanners.
- DIY prints often fail due to incorrect margins or pixelation.
Information to Include on the Back
The reverse side needs:
- Your full name in block letters.
- Date the photo was taken (within 6 months).
- Photographer’s complete address and studio stamp.
“Handwritten details are accepted but stamped versions have a 22% higher approval rate.”
Where to Get Printed Photos
Professional studios guarantee compliance but cost more ($15–$20 CAD). Retail options like London Drugs or Canada Post offer cheaper prints ($0.39–$8 CAD), but quality varies.
Budget tip: Use online tools like 7ID to format images, then print at pharmacies for under $5.
Special Cases: Children and Medical Considerations
Children and applicants with medical needs have unique considerations for their submissions. IRCC allows adjustments to standard guidelines to ensure accessibility while maintaining security.

Child Photo Requirements
For children under 5, a car seat may be used to keep them steady. Cover straps with a white blanket to maintain a plain background.
Key tips:
- Ensure the head and shoulders are fully visible.
- Remove pacifiers or toys to avoid obstructions.
Photos for Newborn Babies
Newborns can be photographed lying down on a white sheet. Use a Boppy pillow for support, but ensure no props are visible in the final image.
“IRCC accepts images of sleeping infants if eyes are naturally closed.”
Medical Exemptions
Headwear or assistive devices (e.g., wheelchair) are allowed for medical reasons. Include a signed exemption letter with your submission.
| Exemption Type | Documentation Required |
|---|---|
| Headwear (religious/medical) | Notarized letter + CFIA template |
| Wheelchair Users | Angle-adjusted photo showing shoulders |
Common Mistakes to Avoid
Over 12% of applications face delays due to simple photo errors—don’t let yours be one. IRCC’s 2023 refusal trends reveal patterned backgrounds and outdated images as top culprits. Even minor flaws like tinted lenses or shadows can add weeks to processing.
Incorrect Photo Size or Quality
Avoid blurred edges or pixelation. Use free tools like GIMP to check for red-eye effects. Key pitfalls:
- Files under 715x1000px auto-reject—verify dimensions before uploading.
- Retail prints often compress poorly; studios guarantee 1200dpi clarity.
Improper Facial Expression or Background
Keep a neutral expression—no smiling or tilted heads. Portal examples show 8% rejections for off-white backgrounds. Pro tips:
“Use a Pantone White (PMS 000) sheet to avoid texture rejections.”
- Remove glasses unless medically required (attach exemption letters).
- Test lighting with your phone’s grayscale filter to eliminate shadows.
Outdated or Altered Photos
IRCC’s 6-month validity rule is strict. Time-stamp verification tools like FotoForensics detect edits. Note:
- Social media filters violate alteration policies—use raw files.
- Toronto photographers recommend anti-glare sprays for tinted lenses.
Conclusion
Meeting all guidelines is your final step to a smooth approval process. Focus on size, lighting, and a neutral expression to avoid delays. Ensure your image is recent—older than six months risks rejection.
For efficiency, use tools like the 7ID app to format your photo. Print it at trusted retailers for precise sizing. Submit via the portal to leverage built-in validation checks.
Future-proof your permanent resident renewal by noting 2025 updates. IRCC may adjust dimensions or file types, so review their PDF spec sheet before reapplying.
Double-check these details to ensure your application meets every requirement. A compliant submission speeds up your journey to residency.


