Did you know Canada plans to welcome 351,000 new permanent residents in 2021? Your journey starts with a simple yet crucial step: submitting the right documentation. One small mistake could delay your application.
The Canada Visa Portal simplifies the process, but strict rules apply. Your image must meet IRCC standards, or officials may reject it. A blurry or incorrectly sized print could set you back weeks.
Professional quality matters. Photos expire after six months, so timing is key. Follow the guidelines closely to avoid unnecessary hurdles in your immigration journey.
Understanding PR Card Photo Requirements
Your journey to becoming a permanent resident hinges on a single image. IRCC rejects thousands of applications annually due to non-compliant submissions. Follow these rules to avoid delays.
Why Your Image Matters
Officials use your photo for identification across federal systems. A mismatched or edited image raises fraud concerns. Even minor deviations trigger manual reviews, adding weeks to processing times.
Key Compliance Points from IRCC
These photo requirements are non-negotiable:
- Neutral expression: No smiles, frowns, or raised eyebrows.
- Eyes open: Clearly visible without glare or shadows.
- No digital alterations: Filters, retouching, or background edits void eligibility.
| Rule | Detail | Consequence of Non-Compliance |
|---|---|---|
| 6-month validity | Must reflect current appearance | Automatic rejection |
| Studio endorsement | Date and address stamped on back | Returned for resubmission |
| Professional printing | Home-printed photos fade unevenly | 100% rejection rate |
Submitting an outdated or DIY print risks restarting your application. Invest in a certified photographer to meet all specifications.
PR Card Photo Size and Dimensions
Getting your image dimensions right is critical for a smooth application process. IRCC rejects submissions that don’t match their exact specifications, so precision matters.
Exact Measurements for Compliance
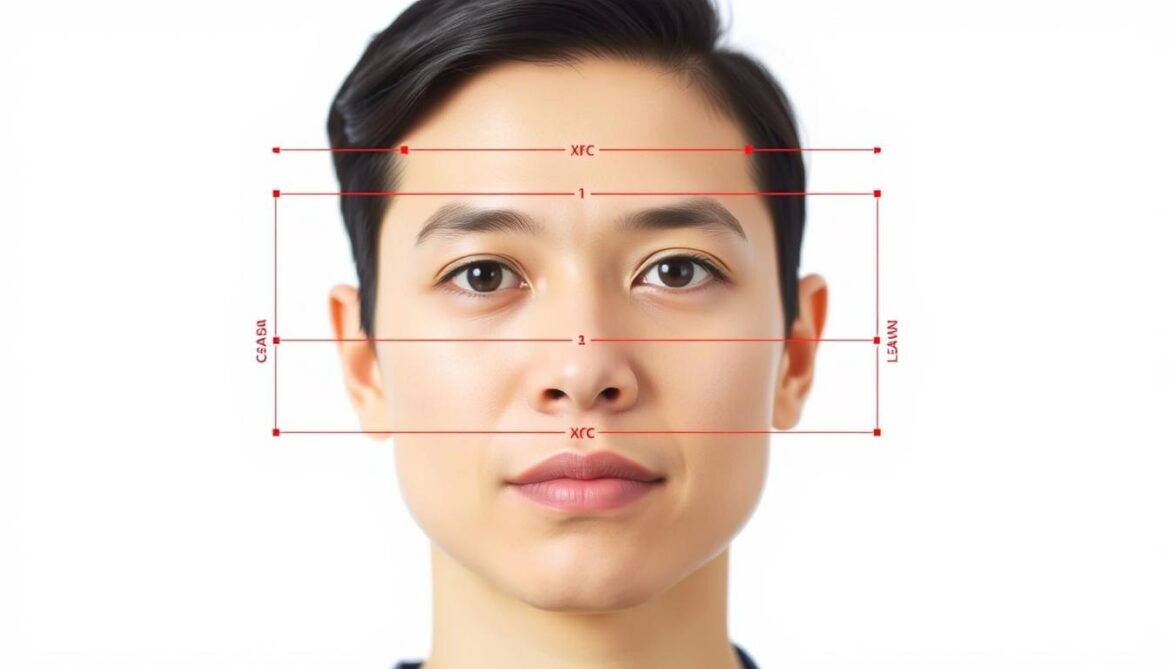
Your physical print must measure 50 mm x 70 mm (2″ x 2.75″ in inches). The face height—from chin to crown—should fill 31–36 mm of the frame.
For digital submissions, the required resolution is 1200 x 1680 pixels. Avoid cropping or resizing after taking the shot, as this distorts proportions.
Positioning Your Face Correctly
Your face and shoulders should occupy 70–80% of the image. Keep your head straight, with eyes level and visible. Tilted angles or perspective distortion from selfies often lead to rejections.
Different face shapes? No problem. The chin-to-crown measurement ensures consistency. Professionals use calibration tools to meet these standards perfectly.
“A photo that’s even 1 mm off can trigger a manual review, adding weeks to your processing time.”
- Metric to Imperial: 50 mm x 70 mm = 2″ x 2.75″.
- Face Coverage: 31–36 mm chin-to-crown height.
- Digital vs. Physical: 1200x1680px for online uploads.
Background and Lighting Specifications
A flawless white backdrop and proper illumination make or break your application photo. IRCC rejects images with off-white tints or visible textures. Even slight discolorations trigger manual reviews.

Plain White Background: Dos and Don’ts
Use a matte plain white surface like Benjamin Moore’s Super White (OC-152). Avoid eggshell or cream tones—they fail IRCC’s RGB threshold (245, 245, 245). Wheelchair users may drape a wrinkle-free white blanket behind them.
- Prohibited: Patterns, shadows, or studio logos.
- Required: Uniform brightness without gradients.
Lighting Tips to Avoid Shadows and Glare
Natural daylight at 10 AM–2 PM provides balanced illumination. For artificial light, use 5500K LED panels at 45-degree angles to eliminate shadows under the chin.
“Diffused lighting reduces glare on glasses by 80%. Softboxes work better than direct flashes.”
| Light Source | Best For | Risk |
|---|---|---|
| Daylight | Color accuracy | Clouds create unevenness |
| LED Panels | Consistency | Overexposure if too close |
| Ring Lights | Even shadows | Reflections in glasses |
Mobile flashes often cast harsh glare. Test with a light meter—ideal exposure is f/8 at 1/125 sec. Adjust until no shadows appear behind the ears.
Facial Expression and Attire
Your facial expression and clothing choices directly impact your application’s success. IRCC requires a natural, unaltered appearance to verify identity. Even subtle deviations—like a slight smile or mismatched contrast—can trigger delays.
Mastering the Neutral Expression
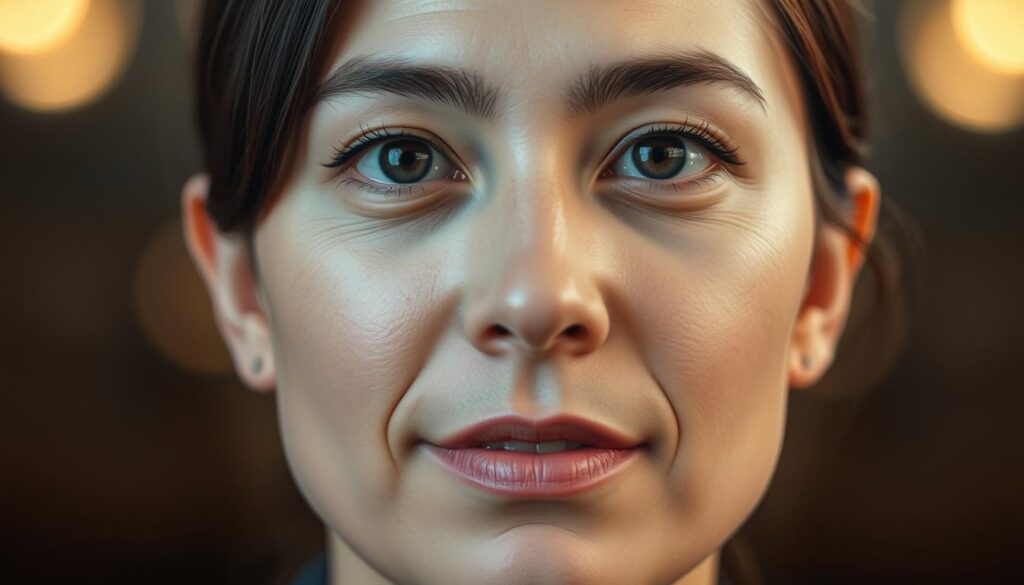
Avoid smiles, frowns, or raised eyebrows. Keep your facial expression relaxed with eyes open and clearly visible. Newborns may have some leniency, but adults must adhere strictly.
- Eye contact: Look directly at the camera lens, not the screen.
- Glare reduction: Tilt glasses slightly downward if needed.
- Makeup: Skip glitter or heavy contouring; natural shades only.
Wardrobe Tips for Optimal Contrast
Wear solid black, white, or dark colours to stand out against the white background. Avoid patterns, logos, or shades that blend in.
“A navy blue shirt improves contrast for lighter skin tones, while charcoal works best for darker complexions.”
| Skin Tone | Recommended Colours | Avoid |
|---|---|---|
| Light | Navy, emerald | Pastels, white |
| Medium | Burgundy, forest green | Beige, grey |
| Dark | Charcoal, royal blue | Black, brown |
Religious or cultural headwear is permitted but must not cast shadows. Ensure your face remains fully visible from forehead to chin.
Special Cases: Glasses, Headwear, and Children
Glasses, headwear, and child photos have unique IRCC guidelines. These exceptions ensure fairness while maintaining security standards. Follow these rules to avoid delays.
Rules for Eyewear and Medical or Religious Coverings
Glasses are permitted if they meet strict criteria. Use anti-glare coatings to reduce reflections. Frames must not obscure your eyes or cast shadows.
For head coverings, IRCC allows religious or medical attire. Ensure the material is non-reflective and doesn’t cover facial features. A signed letter may be required for medical exemptions.
- Anti-glare lenses: No tinted or photochromic coatings.
- Headwear fit: Must show forehead to chin clearly.
- Documentation: Medical notes should include a doctor’s letterhead.
Tips for Newborn and Child Photos
Infants under one year may be photographed in a car seat. Drape a white blanket behind them and remove pacifiers 10 minutes before shooting. Siblings or parents cannot appear in the image.
“Lay newborns on a white sheet for stability. Use a helper to ensure safety while positioning.”
| Age Group | Requirement | Common Mistake |
|---|---|---|
| 0–6 months | Eyes open (if possible) | Shadows from car seat handles |
| 6–12 months | Neutral expression | Toys visible in frame |
| 1+ years | Standalone pose | Cropped forehead or chin |
For special cases, submit a pediatrician’s letter with your application. This information helps officers process exceptions faster.
Common Mistakes to Avoid
Even minor photo errors can delay your immigration process by months. IRCC reports 60% of rejections stem from sizing issues alone. Make sure your submission meets all current photo specifications to prevent costly setbacks.
Old Photos and Incorrect Dimensions
Using images older than six months voids applications immediately. Compare your print to a passport photo overlay—common errors include:
- Cropped foreheads (minimum 31mm chin-to-crown)
- Home prints at 300 DPI instead of professional 600 DPI
- Incorrect 2:3 aspect ratio instead of required 5:7

Approved Canadian shops like Walmart ($7.99) and Jean Coutu ($9.50) guarantee compliant prints. Their calibrated systems adjust for:
| Feature | Home Printer | Professional Service |
|---|---|---|
| Colour Accuracy | 72% compliant | 100% compliant |
| Edge Sharpness | Often fuzzy | Laser-precise |
Print Quality and Editing Pitfalls
Focus on using original, unedited files. IRCC flags these alterations:
- Red-eye removal (changes eye colour)
- Skin smoothing filters
- Background replacement apps
“Inkjet prints fade 40% faster than lab-processed ones. Thermal printing lasts 10+ years.”
Make sure your photographer stamps the back with the studio’s address and date. Digital timestamps must show the exact capture time—edited metadata causes instant rejection.
Conclusion
Submitting the right image for your application ensures a smooth process with IRCC. Double-check these requirements before finalizing: neutral expression, proper sizing, and a plain white background.
For accuracy, use IRCC-approved tools like PhotoAiD or Visafoto. These apps boost success rates by automatically adjusting your submission to meet Canada‘s strict standards.
Once approved, log in to the Canada Visa Portal to upload your files. Processing typically takes 4–6 weeks. Keep a copy of your checklist for reference.
Professional studios guarantee compliance. Their expertise minimizes errors that could delay your journey. Start strong—your future begins with this crucial step.


