Did you know over 1.2 million temporary resident visas (TRVs) are processed in Canada each year? If you’ve submitted an online application, tracking its progress is crucial. The dedicated office handling these requests ensures your documents move smoothly through the system.
Whether you’re renewing a study permit or applying for a work visa, keeping your IRCC account updated is key. Missing details can delay approval, so always verify your contact information. The secure portal lets you monitor every step in real time.
For applicants within Canada, processing times vary based on demand. Avoid common pitfalls by submitting complete forms and responding promptly to requests. This guide simplifies how to check your status and what to expect next.
What Is the Case Processing Centre Ottawa (CPC-O)?
Not all visa applications follow the same path—location matters. If you’re within Canada, your temporary resident visa (TRV) request goes to a specialized team. This office handles domestic submissions exclusively, streamlining approvals for residents.

Unlike other offices, CPC-O focuses solely on applications from those already in the country. Whether you’re renewing a study permit or extending a work permit, eligibility requires current residency. Submissions from abroad route to different centers.
Common processed requests include:
- Visitor visa extensions
- Permit holder visas (for workers/students)
- Passport returns after approval
Mailing addresses differ for couriers vs. standard mail—double-check these to avoid delays. Errors like incomplete forms or missing fees top rejection reasons. Always review immigration information guides before applying.
How to Check Your Visa Application Status Online
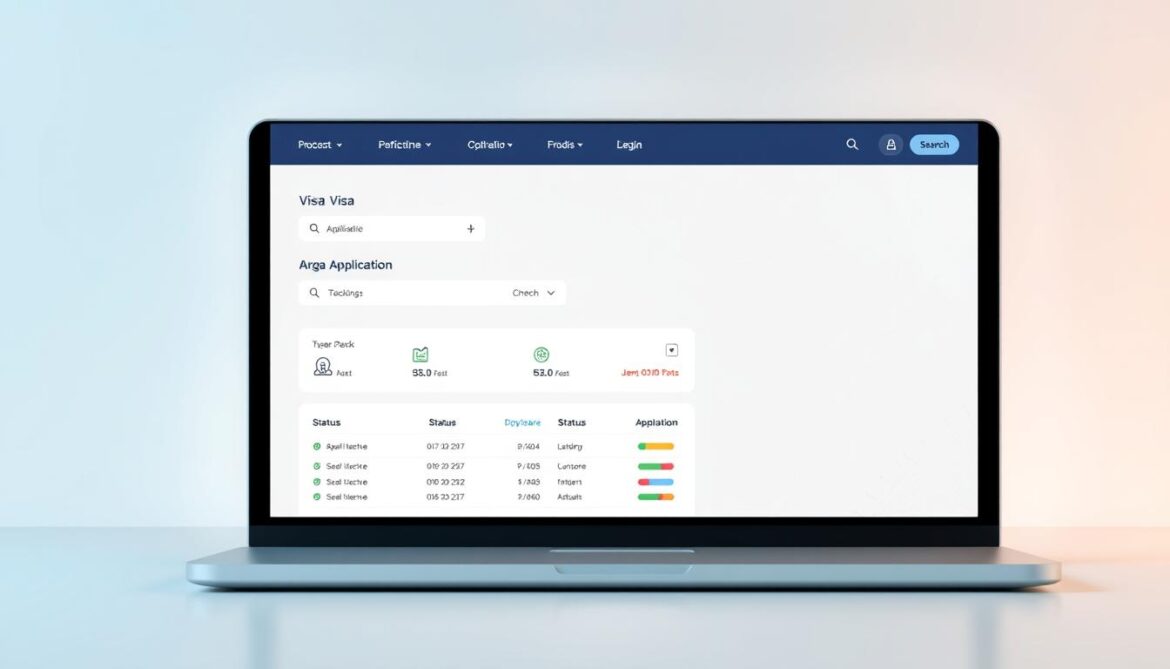
Tracking your visa application online saves time and reduces stress. The IRCC portal provides real-time updates, ensuring you never miss critical information. Follow these steps to stay informed about your TRV or other permits.

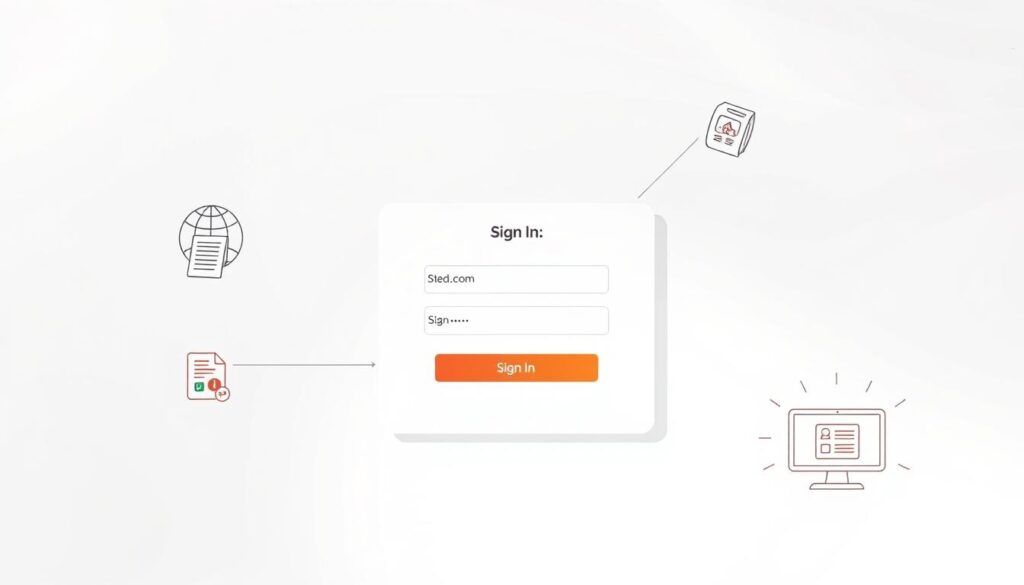
Step 1: Log in to Your IRCC Secure Account
Visit the IRCC website and sign in using your credentials. If you’re a first-time user, register with your email and create a password. Enable two-factor authentication for added security.
Forgot your password? Use the recovery tool with your registered email. Avoid shared devices to protect your online application details.
Step 2: Navigate to “My Messages” for Updates
Once logged in, click “My Messages” in your account dashboard. IRCC sends approval requests or additional form requests here. Check this section weekly to avoid delays.
Enable email notifications to receive alerts for new messages. Missing a request could pause your visa processing.
Step 3: Print Your IRCC Approval Letter
Approval letters must be printed for official use. IRCC accepts both colour and black-and-white copies. Store a digital backup in case the physical copy is lost.
Ensure your printer settings match the document’s original layout. Cropped or blurred text may invalidate the letter.
Troubleshooting Common Issues
- Login failures: Clear your browser cache or try incognito mode.
- Missing messages: Verify your email’s spam folder.
- Portal errors: Use Chrome or Firefox for optimal performance.
| Feature | Desktop Access | Mobile Access |
|---|---|---|
| Full functionality | Yes | Limited (use browser, not app) |
| Document uploads | All file types | Images only |
Need help? Contact IRCC’s support line for account-specific queries. Keep your application number handy for faster service.
Preparing Your Documents for Submission
Organized paperwork is the backbone of a successful visa request. Missing or incorrect items can add weeks to processing. Follow this guide to ensure your supporting documents meet all requirements.

Required Documents for a Temporary Resident Visa (TRV)
Your application form must include:
- A valid passport (with at least 6 months’ validity).
- Completed IMM5257 (latest version).
- Two recent photos meeting IRCC’s specifications.
Non-English/French documents need certified translations. Common rejections include blurred scans or unsigned forms.
How to Obtain a Verification of Enrolment (VOE)
Students at Laurier University request a VOE via LORIS:
- Log in to LORIS using your student credentials.
- Navigate to “Student Services” > “Enrolment Verification.”
- Download the PDF and attach it to your application.
Proof of Financial Support Requirements
You must show funds covering tuition plus $10,000 CAD for living costs. Acceptable formats:
| Type | Details |
|---|---|
| Bank statements | Last 4 months, stamped by the institution. |
| Sponsorship letters | Notarized, with the sponsor’s financial proof. |
Loans or scholarships must include disbursement dates. IRCC may request updated financial support evidence during processing.
Mailing Your Passport to the Case Processing Centre Ottawa
Sending your passport securely is a critical step in finalizing your visa approval. Errors in packaging or addressing can add weeks to processing. Follow these steps to ensure smooth delivery and return of your documents.

Step 1: Purchase Prepaid Xpresspost Envelopes
Visit any Canada Post retail outlet to buy two prepaid Xpresspost envelopes. You’ll need:
- A 32x24cm envelope to send passport materials.
- A smaller 26×16.5cm envelope for return passport delivery.
Keep receipts for tracking. Private courier return envelopes are not accepted—only Canada Post labels work.
Step 2: Package Your Passport and Documents Correctly
Place your passport and approval letter in the larger envelope. Nest the return envelope inside, unfolded, with your full address printed clearly.
Double-check for:
- Client ID or application number on both envelopes.
- No staples or tape damaging documents.
Step 3: Address and Label Your Envelope
Use the correct address based on your delivery method:
| Method | Address |
|---|---|
| Regular Mail | PO Box 9640, Ottawa, ON K1G 6T2 |
| Courier | PO Box 8780, Ottawa, ON K1G 5E9 |
Write “TRV Application” and your application number on the outer envelope. Activate tracking online to monitor delivery.
Tracking Your Application and Passport Return
Waiting for your passport return can feel like watching paint dry—here’s how to track it properly. Once IRCC approves your visa, they only use prepaid Xpresspost or regular mail for returns. Processing often takes 3+ months, so patience is key.
![]()
- “Item processed”: Your passport reached a sorting facility.
- “Out for delivery”: Expect it that day or the next business day.
- No updates for 5+ days? Contact Canada Post with your tracking number.
Weekends and holidays delay deliveries. If your return passport hasn’t arrived within 10 business days after shipping, visit a Canada Post office with secondary ID (e.g., driver’s license).
“Always keep copies of your tracking number and approval letter. Lost passports require immediate reporting to IRCC and your embassy.”
For updated timelines, check the latest IRCC processing times. Delays spike during peak seasons—plan accordingly.
IRCC isn’t liable for lost mail, so double-check your envelope address. Pro tip: Snap a photo of your prepaid label before mailing it.
Conclusion
Wrapping up your visa application correctly ensures a smooth approval journey. Double-check envelope sizes and prepaid labels to avoid return delays. Missing a single detail can add weeks to your timeline.
Use this checklist before submitting:
- All forms signed and dated.
- Passport photos meet IRCC specs.
- Return envelope nested inside.
International students can tap into campus resources for immigration support. Book advisors early for document reviews.
Stuck? Contact IRCC via their web form with your application number. Once approved, update your guide for next steps like work permits or travel plans.


