Every year, over 30 million visitors travel to Canada, but many don’t realize they need a Temporary Resident Visa (TRV) before boarding their flight. This official document is a must-have for travelers who aren’t Canadian citizens or permanent residents.
A TRV is a sticker placed in your passport, proving you meet entry requirements. Unlike permanent residency, it’s only valid for a limited time. You cannot get it upon arrival—applying in advance through the Canada visa portal is mandatory.
Planning a trip? Check if your country requires a TRV. Missing this step could delay or cancel your travel plans. The process is straightforward but demands attention to detail.
Understanding TRV: What It Means for Your Canada Visa
A Temporary Resident Visa (TRV) is more than just a travel document—it’s your key to exploring Canada legally. This visa ensures you meet the requirements under the Immigration and Refugee Protection Act (IRPA). Whether you’re visiting for leisure, business, or studies, the TRV is your official authorization.
Definition of a Temporary Resident Visa
The TRV is a sticker or electronic document proving you’re allowed to enter Canada temporarily. It’s tied to your passport and issued by Immigration, Refugees and Citizenship Canada (IRCC). Unlike permanent residency, it has an expiry date.
Purpose of a TRV
This resident visa serves three main purposes:
- Tourism: Discover Canada’s landscapes and cities.
- Family visits: Reunite with loved ones.
- Business activities: Attend meetings or conferences.
Note: A TRV doesn’t guarantee entry. Border officers (CBSA) make the final decision. You might also need a study or work permit alongside your TRV.
“The TRV is your first step—not a free pass. Always check its validity and entry rules before traveling.”
Who Needs a TRV to Enter Canada?
Canada welcomes millions of visitors annually, but entry rules vary based on your nationality. While some travelers only need an electronic travel authorization (eTA), others must apply for a visa before departure. Knowing which category you fall into saves time and avoids last-minute surprises.
Visa-Required Countries vs. Visa-Exempt Countries
Citizens from over 50 countries, including India, China, and the Philippines, must obtain a visa before traveling to Canada. This involves submitting an application to a visa office or online portal with supporting documents like proof of funds and travel plans.
If you’re from a visa-exempt nation (e.g., the UK, Germany, or Japan), you’ll need an eTA for air travel. This digital permit is faster to secure but still requires approval before boarding. Land or sea crossings may have different rules, so always verify with Citizenship Canada.
Exceptions and Special Cases
Some situations bypass standard visa rules:
- Dual intent: Applicants for permanent residency can still request a TRV, provided they prove temporary stay plans.
- Diplomatic exemptions: Government officials and NATO personnel often enter without a visa.
- Super Visa: Parents or grandparents of Canadian citizens may qualify for multi-entry visas valid up to 10 years.
“Always check the latest entry requirements—policies can change based on bilateral agreements or security updates.”
TRV vs. Other Travel Documents
Navigating Canada’s entry requirements involves understanding different travel documents. While a Temporary Resident Visa (TRV) is common, alternatives like the electronic travel authorization (eTA) or study/work permits serve distinct purposes. Choosing the right one depends on your nationality and travel goals.
Difference Between TRV and Electronic Travel Authorization (eTA)
A TRV is a physical sticker in your passport, whereas an eTA is a digital travel authorization linked electronically. Visa-exempt travelers flying to Canada typically need an eTA, which is faster to obtain but only valid for five years.
Key contrasts include:
- Format: TRV requires embassy processing; eTA is applied for online.
- Validity: TRVs can last up to 10 years; eTAs expire after five.
- Entry: Both allow multiple entries, but border officers assess admissibility separately.
TRV vs. Study or Work Permits
Holding a TRV doesn’t automatically permit studying or working. You’ll need additional documents like a study work permit (codes S-1 or W-1). These permits specify conditions like institution eligibility or employer restrictions.
For example:
- A student with an S-1 code must enroll at a designated learning institution.
- Work permit holders may need a Labour Market Impact Assessment (LMIA) unless exempt.
“Mixing up travel documents can delay your plans. Always verify which ones align with your purpose of visit.”
Key Requirements for a TRV Application
Your TRV application hinges on three critical factors: finances, ties to home, and health checks. Immigration officers scrutinize these to ensure you’ll comply with visa conditions. Missing even one could lead to delays or refusal.
Proof of Financial Support
Canada requires evidence you can cover your stay. Bank statements showing consistent funds are ideal. Sponsorship letters from family or employers also work if they include financial guarantees.
Calculate minimum funds based on:
- Duration of stay: Daily costs for accommodation, food, and transport.
- Family size: Add 30% per accompanying dependent.
Travel History and Ties to Home Country
Officers assess if you’ll leave Canada when your visa expires. Show ties like:
- Employment contracts or property ownership.
- Previous travel to countries with strict visa policies (e.g., Schengen Zone).
Tip: A detailed travel itinerary strengthens your case.
Medical and Biometric Requirements
Biometrics (fingerprints and photo) are mandatory for most applicants. Visit a Visa Application Centre (VAC)—results stay valid for 10 years.
Medical exams apply if:
- Staying over six months.
- Working in healthcare or agriculture.
“Super Visa applicants must provide 12-month medical insurance. Plan ahead—processing takes weeks.”
How to Apply for a TRV: Step-by-Step Guide
Getting your visa approved starts with a well-prepared application. Follow these steps to ensure a smooth process, from gathering documents to submitting biometrics.
Step 1: Gather Required Documents
Use the IMM 5484 checklist to compile everything you need. Essential items include:
- Valid passport (with blank pages).
- Proof of funds (bank statements or sponsorship letters).
- Travel itinerary and purpose of visit.
Missing even one document can delay processing. Double-check the list before proceeding.
Step 2: Complete the Application Form
Fill out the form online or on paper (for disability exemptions). Answer all questions truthfully—inconsistencies may lead to refusal.
Tip: Save your progress frequently to avoid timeouts.
Step 3: Pay the Fees and Submit Your Application
The base fee is CAD 100, payable via credit card or bank transfer on the Canada visa portal. After payment, upload your documents and submit.
For paper applications, include a prepaid Xpresspost return envelope from Canada Post.
Step 4: Biometrics and Processing Time
Book a biometrics appointment at a Visa Application Centre (VAC). Fingerprints and photos take about 15 minutes.
Processing times vary by country—for example, applications from India typically take 28 days. Track your status online.
“Submitting a complete application upfront reduces delays. Always verify requirements before hitting ‘submit.’”
Navigating the Canada Visa Portal for TRV Applications
Applying for a Canada visa requires navigating the official portal efficiently. The system is designed for digital submissions, but paper options exist for rare cases. Follow these instructions to avoid delays.
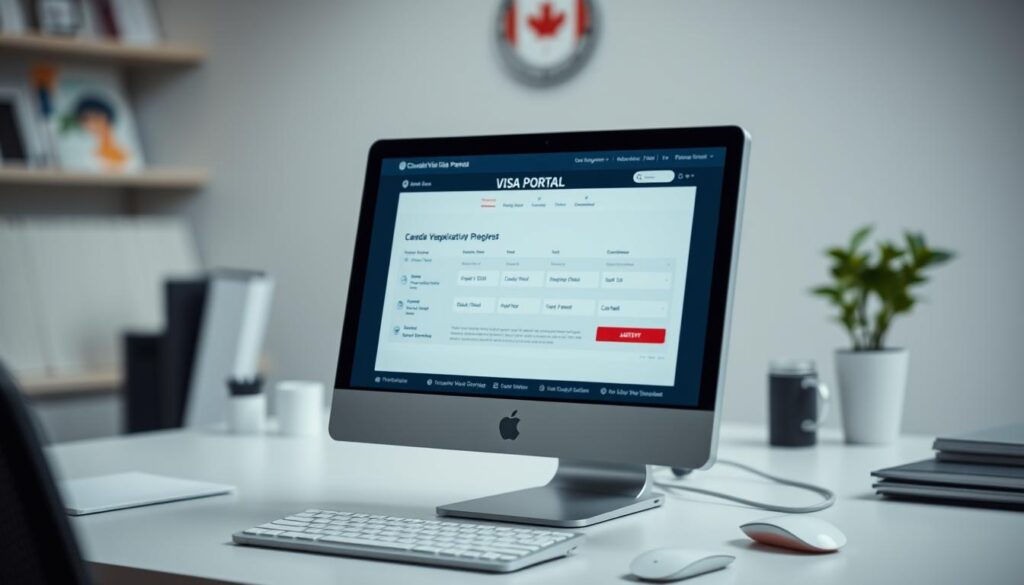
Online vs. Paper Applications
Most applicants must use the Canada visa portal online. Paper forms are only for refugees or stateless persons, as per Immigration Canada’s rules.
To start:
- Create a GCKey account—a unique login for government services.
- Upload documents as PDFs (max 4MB per file).
- Use the webform to submit extra files if needed.
How to Track Your Application Status
After submitting, track progress using your application number (format: V######). Visa Application Centres (VACs) offer SMS updates for real-time alerts.
Processing times vary. Check the portal weekly for updates or requests for additional details.
“Missing document uploads are the top cause of delays. Double-check file sizes and formats before submission.”
Common Reasons for TRV Refusals and How to Avoid Them
Many applicants face unexpected refusals due to simple oversights in their visa submissions. A 42% refusal rate in some countries highlights the need for precision. Addressing these pitfalls early boosts approval odds.
Incomplete or Incorrect Documentation
Top errors include expired passports or unsigned forms. Double-check your documents against the IMM 5484 checklist. Missing even one item delays processing or triggers denial.
Pro tip: Scan all files as PDFs to avoid upload rejections. Bank statements must show consistent funds, not just recent deposits.
Failure to Demonstrate Ties to Home Country
Immigration officers need proof you’ll return home. Submit property deeds, employment letters, or enrollment confirmations. Previous travel to strict visa regions (like the Schengen Zone) strengthens your case.
Self-employed? Provide business licenses or client contracts. Family ties alone rarely suffice.
“Reapplying after refusal? Address the original reason head-on. A consultant can spot gaps you might miss.”
Reapplication cooling-off periods vary by country. Some allow immediate resubmission if errors are fixed. Others mandate a 6-month wait. Always review refusal notes before reapplying.
Consultants streamline complex cases, but DIY applications work with meticulous prep. Weigh costs against potential time savings.
What to Do If Your TRV Expires While Inside Canada
Finding yourself in Canada with an expired visa? Here’s how to handle the situation without risking your status. Whether you’re waiting for a renewal or planning to travel, timely action keeps you compliant with immigration rules.

Renewing Your Visa from Within Canada
You can apply to extend your stay if your visa expires while you’re inside Canada. Submit a new application before your current status ends to benefit from implied status—a temporary extension while your request processes.
Key steps include:
- Processing times: Average 42 days for inland applications.
- Valid status: Maintain legal standing by avoiding work or study until approval.
- Passport validity: Ensure your passport won’t expire during processing.
| Document | Requirement |
|---|---|
| Application Form (IMM 5708) | Filled and signed |
| Proof of Funds | Bank statements (minimum CAD 1,000/month) |
| Status Document | Copy of current visa or entry stamp |
Implications for Travel
Leaving Canada with an expired visa? Re-entry requires a new permit. Border officers may deny entry if your documents aren’t valid, even with a pending renewal.
For emergencies, apply for a Temporary Resident Permit (TRP). This one-time travel authorization bypasses standard rules but has strict eligibility criteria.
“Always consult Immigration Canada before traveling with an expired visa. Implied status doesn’t guarantee re-entry.”
What to Do If Your TRV Expires While Outside Canada
If your Temporary Resident Visa expires while you’re abroad, don’t panic—there are clear steps to follow. Whether you’re reapplying or facing an emergency, understanding the process keeps your travel plans on track.
Reapplying for a Visa from Abroad
Processing times vary by location. Applications submitted outside Canada often take longer due to higher volumes at Visa Application Centres (VACs). Required documents include:
- A valid passport with at least six months’ validity.
- Proof of ties to your home country (e.g., employment letter).
- Updated financial statements.
Some VACs offer priority processing for emergencies. Fees range from CAD 150 to CAD 500, depending on urgency.
| Service Type | Processing Time |
|---|---|
| Standard | 14–28 days |
| Express (72-hour) | 3 business days |
| Super Visa Renewal | 42 days |
Emergency Travel Considerations
Need to travel urgently? Contact the nearest Canadian embassy. They may issue a limited-validity visa if you provide:
- Proof of the emergency (e.g., medical certificate).
- A flight itinerary showing departure within 72 hours.
“Overstay history can delay approvals. Always exit Canada before your visa expires to avoid complications.”
COVID-19 vaccination proof might still be required for certain flights. Check the latest rules before booking.
Updating Your TRV After Getting a New Passport
Renewing your passport doesn’t automatically update your Canada visa—here’s what you need to know. A valid Temporary Resident Visa (TRV) in an expired passport remains usable if you carry both documents. This rule applies unless your visa was lost or damaged.
Process for Transferring Your Visa
To transfer your visa to a new passport, submit an application to Immigration, Refugees and Citizenship Canada (IRCC). Include:
- A copy of your new passport’s data page.
- The original passport with the valid TRV (if available).
- Payment of CAD 30 for processing.
Police reports are mandatory for lost passports. Submit them within 24 hours to avoid delays.
| Service | Fee (CAD) |
|---|---|
| Visa transfer to new passport | 30 |
| Not-for-duty renewal (diplomatic) | 0 |
| Emergency processing (72-hour) | 150 |
Traveling with an Old and New Passport
Airlines require both passports if your visa is in the expired one. Ensure the name and code match exactly. Border officers may ask for additional proof, like a marriage certificate for name changes.
“Always carry both passports until your visa is transferred. Missing documents can lead to denied boarding.”
The transition period for passport validity is typically 6 months. Check expiry dates before booking flights.
Super Visa for Parents and Grandparents: A Special TRV Category
Canada offers a unique visa option for parents and grandparents wanting extended stays. Unlike standard resident visas, the Super Visa allows multiple entries for up to 10 years, with each visit lasting 5 years. This streamlines family reunification under the Immigration and Refugee Protection Act.
Eligibility and Requirements
To qualify, your child or grandchild in Canada must meet the Low Income Cut-Off (LICO) +30%. Proof includes:
- Recent tax returns or employment letters.
- Bank statements showing consistent income.
Additional requirements:
- Medical insurance: Coverage for 12 months from approved providers like Manulife or Sun Life.
- Notarized invitation letter with the host’s promise of financial support.
- Medical exam at an accredited clinic.
How to Apply for a Super Visa
Submit your application online or via paper forms. Key steps:
- Complete IMM 5257 and IMM 5645.
- Upload proof of insurance and LICO documents.
- Pay the CAD 100 fee.
“Super Visas reduce renewal stress. Parents can stay longer without reapplying every 6 months.”
| Benefit | Super Visa | Regular TRV |
|---|---|---|
| Stay Duration | 5 years per entry | 6 months |
| Processing Time | 42 days avg. | 28 days avg. |
TRV Validity and Multiple Entries
Not all Canadian visas grant the same entry privileges—know the differences. Your visa expiry date and type determine how often you can visit and for how long. Planning ahead avoids last-minute surprises at the border.
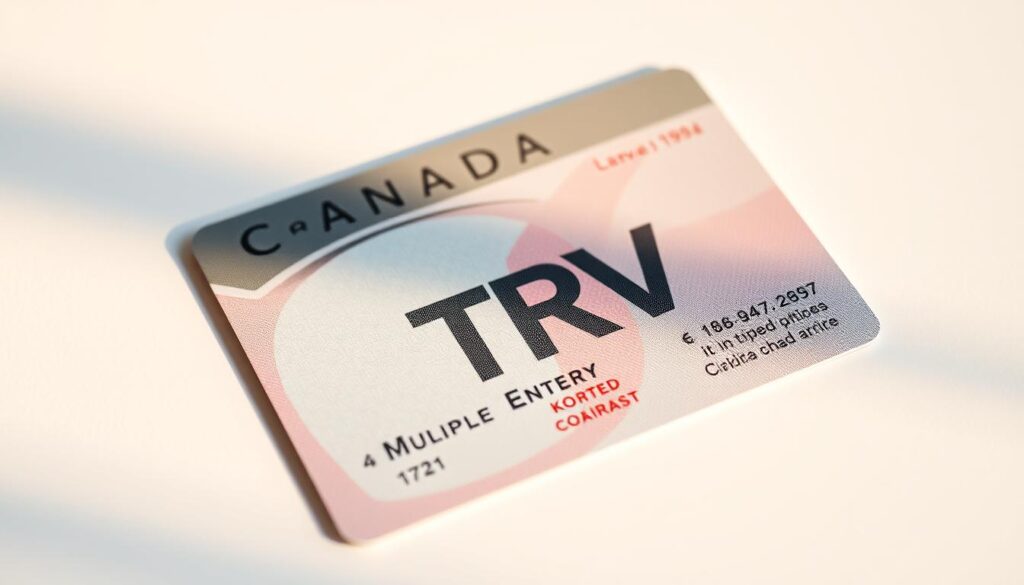
Single-Entry vs. Multiple-Entry Visas
A single-entry visa allows one trip to Canada. If you leave (except for the U.S. or St. Pierre and Miquelon), you’ll need a new visa to return. Fees start at CAD 100.
Multiple-entry visas (MEVs) let you come and go for up to 10 years. Each entry’s length is decided by border officers. MEVs cost CAD 200, but some countries have reciprocity agreements for lower fees.
How Long Can You Stay in Canada with a Visa?
The standard stay is six months per entry. Officers may shorten or extend this based on your purpose (e.g., tourism vs. business). Overstaying risks bans or future visa denials.
To extend your stay, apply 30 days before expiry using Form IMM 5708. Processing time averages 42 days. You’ll receive a status document while waiting—this isn’t a new visa but proves legal residency.
“Always check your passport stamp for the exit date. Misremembering can lead to accidental overstays.”
| Visa Type | Max Validity | Stay Per Entry |
|---|---|---|
| Single-Entry | 6 months | Up to 6 months |
| Multiple-Entry | 10 years | Officer’s discretion |
Transitioning from TRV to Permanent Residency
Your visitor status doesn’t have to be the end of your Canadian journey. Many temporary residents successfully transition to permanent residency through legal pathways under the Immigration and Refugee Protection Act. Understanding these options helps you plan your long-term future in Canada.
Can a TRV Lead to Permanent Residency?
Canada’s dual intent policy allows you to apply for permanent residency while holding a temporary visa. This means you can:
- Enter as a visitor while your permit application processes
- Switch to a work or study permit if eligible
- Maintain legal status throughout the transition
Popular pathways include the Post-Graduation Work Permit (PGWP) program. International students often use this to gain Canadian work experience before applying through Express Entry.
Key Considerations for Transitioning
When planning your immigration pathway, consider these factors:
Family sponsorship may accelerate your process if you have relatives in Canada. Parents, spouses, and dependent children often qualify for faster processing times.
Provincial Nominee Programs (PNPs) offer regional options. Many provinces prioritize candidates with local work or study experience from a study work permit.
“Always declare permanent residency intentions honestly. Border officers assess whether you’ll comply with temporary visa terms during processing.”
Maintaining temporary intent is crucial until approval. Show proof of return plans like:
- Ongoing employment abroad
- Property ownership in your home country
- Enrollment in foreign educational programs
Consulting an immigration lawyer helps navigate complex cases. They can advise on documentation and timing for your permanent residency application.
Conclusion
Planning your trip to Canada starts with the right documents. A visa ensures smooth entry, whether you’re visiting for tourism, business, or family. Early preparation avoids last-minute stress.
Use the Canada visa portal efficiently. Upload clear scans and double-check forms. Regulations change often—stay updated to avoid surprises.
Before submitting your application, review this checklist:
- Valid passport with blank pages
- Proof of funds and travel plans
- Biometrics appointment confirmation
Safe travels—your Canadian adventure awaits!


