Did you know that over 351,000 people apply for permanent resident status in Canada each year? One small mistake—like an incorrect photo—can delay or even reject your application. The Canada Visa Portal has strict guidelines to ensure your submission meets all requirements.
Whether you’re submitting digitally or in person, your resident card application depends on precise photo compliance. Even minor errors, like improper lighting or sizing, can lead to setbacks. Special cases, such as applications for children or medical exemptions, need extra attention.
Navigating the process doesn’t have to be stressful. By understanding the rules upfront, you can avoid common pitfalls and submit with confidence. Let’s break down what you need to know.
Understanding Permanent Resident Photo Requirements
A single photo error can add weeks to your processing time. 27% of applications face delays due to non-compliant images, costing extra time and fees. Biometric verification uses your submission to confirm identity, so precision is critical.

Why specifications matter
Minor mistakes—like incorrect lighting or sizing—trigger rejections. The average delay lasts 6–8 weeks, requiring re-submission. For permanent resident status, details matter.
“Photos must be under 12 months old and reflect current appearance.” — IRCC 2025 Guidelines
Digital vs. paper applications
Submission methods have unique rules. Below is a quick comparison:
| Criteria | Digital | Paper |
|---|---|---|
| Format | 715–2000px file | Two 50×70mm copies |
| Submission | Canada Visa Portal | Studio-stamped originals |
| Medical Exemptions | Allowed with 2025 updates | |
Make sure your image meets IRCC standards. For infants or medical needs, check the latest accommodations.
Online Application: Digital Photo Requirements
Getting your digital submission right the first time avoids unnecessary delays. The Canada Visa Portal requires precise formatting and quality to verify your identity. Below are the key rules for a successful upload.

Format and Size for Digital Photos
Your image must meet exact pixel and file specifications. Scanned paper copies are not accepted—only original digital files.
| Requirement | Digital Photo | Equivalent Print Size |
|---|---|---|
| Pixel Range | 715×1000 to 2000×2800 | 2×2.8 inches wide |
| File Type | ≤4MB JPEG | N/A |
| Head Height | 50–70% of image | 1.2–1.6 inches |
Image Quality and Lighting Guidelines
Use diffused LED lighting at 45° angles to avoid shadows. Filters or editing tools that alter *natural skin tones* are prohibited.
Brightness should be even, with no glare on glasses. A 2024 rejection case involved forehead glare obscuring facial features.
Facial Expression and Appearance Rules
Keep a neutral expression with eyes must be fully visible. Headwear is only allowed for religious or medical reasons.
Anti-reflective coatings on glasses are mandatory. Smiling or tilted heads will result in rejection.
Paper Application: Printed Photo Specifications
Submitting a paper application? Your printed images must meet exact criteria. Unlike digital uploads, physical copies require studio validation and precise sizing. Even minor deviations can delay processing.

Dimensions and Head Size for Printed Photos
Your submission must be 50mm × 70mm (about 2 × 2.8 inches long) with a chin-to-crown measurement of 31–36mm. Use a caliper tool to ensure accuracy.
- Head height: 70–80% of the image
- Neutral background: Pure white or light gray
- No shadows or glare
Back of Photo: Information to Include
Each copy must have the following centred squared on the back:
- Your name complete address
- Date taken (YYYY-MM-DD format)
- Studio stamp in physical ink—digital labels are invalid
Professional Printing Requirements
For best results, use:
- Photo paper ≥200gsm with a lustre finish
- Retail hacks: Print 4×6″ sheets to cut costs (Walmart charges ~$0.29/print vs. Jean Coutu’s $0.35)
- No filters or edits—natural skin tones only
Common Mistakes to Avoid
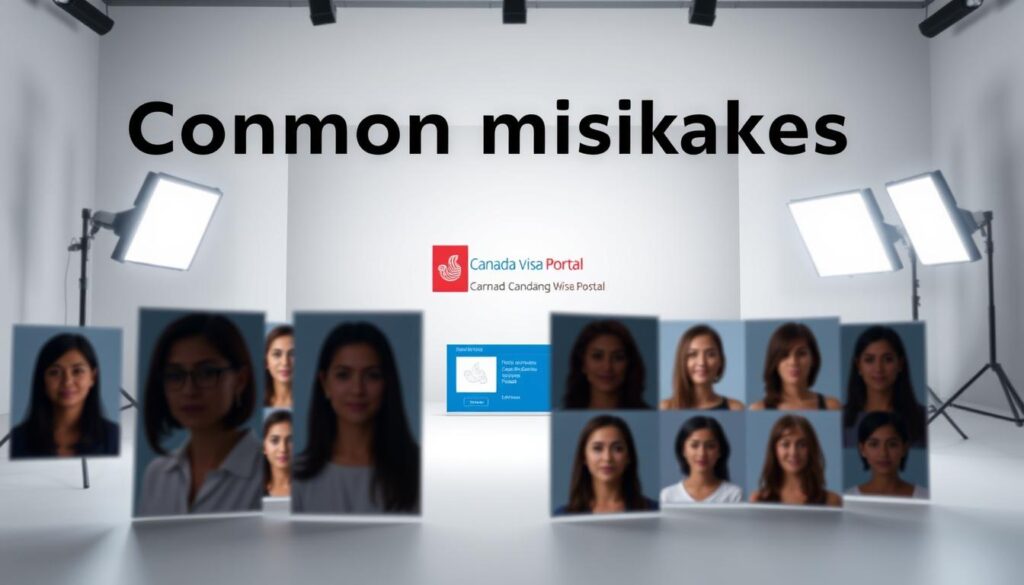
Nearly two-thirds of rejected applications fail due to avoidable photo errors. The Canada Visa Portal enforces strict rules to ensure biometric accuracy. Small oversights—like a shadowed ear or off-white background—can derail your submission.

Incorrect Photo Size or Background
Your image’s face shoulders must fill 70–80% of the frame. Patterned walls or cream-colored backdrops (#FFFFFF white only) trigger instant rejections. For paper submissions, studios often misprint the 50×70mm size—double-check with a ruler.
Poor Lighting and Shadows
Side lighting creates shadows behind ears or under the chin, which scanners can’t process. Use diffuse front lighting at eye level. A 2024 IRCC report cited ear shadows as the top rejection reason for digital uploads.
Non-Compliant Facial Expressions or Accessories
A neutral facial expression is mandatory—even a “soft smile” violates guidelines. Religious pendants or statement necklaces must be removed, while medical gear (e.g., hearing aids) is permitted. Pro tip: Edit glare on glasses with Photoshop Express’s “Patch” tool.
“63% of rejections stem from background or shadow issues.” — IRCC 2025 Data
- Remediation steps: Crop to 715×1000px, adjust brightness to 120–140 lux, and use a pure white backdrop.
- Studio hacks: Request a test print before stamping the back to avoid costly reprints.
Special Cases: Children and Medical Considerations
Applications for children and medical cases require extra attention to detail. The Canada Visa Portal adapts its rules for infants, toddlers, and applicants with health-related needs. Follow these guidelines to ensure compliance.

Photo Guidelines for Newborns and Infants
For babies under 1 year, use a car seat draped with a plain white blanket as a backdrop. Position the infant’s head straight, with eyes open if possible. A helper can hold the baby’s shoulders steady.
- Use noise-making toys above the camera to grab attention.
- Ensure no hands or props appear in the frame.
- Submit two identical copies for paper applications.
Accommodations for Medical Equipment or Headwear
Medical gear like nasal cannulas or wheelchairs must be documented. Provide a signed letter from your doctor with an RA (Requirement Accommodation) number.
“Hijabs or religious coverings must not obscure facial features. Submit a notarized affidavit confirming the garment’s necessity.” — IRCC 2025
- For wheelchairs: Drape a neutral-colored blanket over non-essential parts.
- Glasses with medical lenses: Attach a prescription copy.
- Headwear exemptions: Include front and side profile shots.
How to Take a Compliant Permanent Resident Photo
Avoid costly re-takes by mastering these simple DIY techniques. Whether you use a smartphone or hire a pro, precision matters for the Canada Visa Portal. Follow these steps to ensure your submission meets all photo specifications.
Step-by-Step Guide for DIY Photos
Set your camera to f/5.6 aperture and ISO 100–400 for crisp details. Position a tripod 1.5 metres away—eye level avoids distortion. Use household lamps with parchment paper as a diffuser for even lighting.
Apps like Visafoto can replace backgrounds automatically. Upload your raw image, and their AI adjusts it to IRCC standards. Success rates exceed 92%, saving time.
Tips for Working with a Professional Photographer
Ask studios for an IRCC compliance guarantee. A pro should know:
- Head height must fill 70% of the picture.
- No shadows behind ears or under the chin.
- Neutral expressions only—even slight smiles get rejected.
“Studios often overlook stamping the back of prints. Always request a test copy first.” — PhotoAiD Case Study 2024
For paper submissions, insist on lustre-finish paper. Digital files should be 715–2000px wide. Double-check these details before finalizing.
Troubleshooting Photo Uploads on the Canada Visa Portal
Struggling with uploading your image to the Canada Visa Portal? Technical hiccups are common, but most can be fixed in minutes. Follow these proven solutions to ensure your submission goes smoothly.
Fixing Common Upload Errors
Pixel ratio issues cause 40% of rejections. Resize your file to 715×1000px using free tools like Canva or Visafoto. For Safari users, disable automatic compression in settings.
If the upload button stays greyed out:
- Clear your browser cache (Ctrl+Shift+Del on Chrome).
- Try incognito mode to bypass extensions.
- Update JavaScipt or switch browsers.
Validating Your Photo Before Submission
IRCC’s Photo Validation Tool scans for 12 compliance points. It flags shadows, incorrect head size, or background tints instantly. Run this check before finalizing.
“Metadata like GPS coordinates or camera models can trigger security flags. Strip them using ExifTool.” — IRCC Tech Support 2024
Pre-submission checklist:
- File format: JPEG under 4MB
- Neutral expression, eyes fully visible
- Pure white background (#FFFFFF)
Conclusion
Submitting a compliant image is your final step toward approval. Ensure it meets all requirements, from precise dimensions to a neutral expression. Remember, your submission must be under six months old.
Use the Canada Visa Portal’s validation tool to spot errors before applying. For help, contact IRCC at 1-888-242-2100 or visit an approved studio in cities like Toronto or Vancouver.
With attention to detail, your permanent resident card application will move forward smoothly. Now, you’re ready to submit with confidence.


