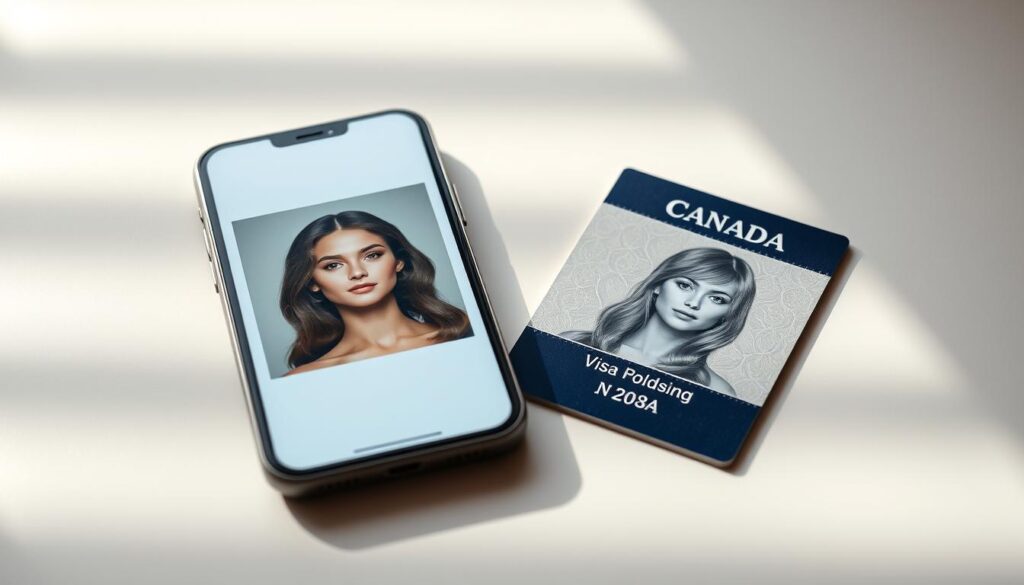
Canada plans to welcome over 351,000 new permanent residents annually, making it one of the most sought-after immigration destinations. If you’re applying, your permanent resident card is essential—especially for re-entering the country. But did you know that non-compliant images are a leading cause of application delays?
Navigating the Canada visa portal can be tricky, especially when preparing your submission. A single mistake in your resident card photo could mean weeks of processing setbacks. This guide breaks down IRCC’s technical requirements into simple steps, helping you avoid common pitfalls.
Understanding the rules upfront saves time and increases approval chances. Let’s ensure your application stands out for the right reasons.
Understanding PR Photo Specs for Your Canada Visa Application
Your permanent resident card is more than just an ID—it’s your key to seamless travel and status verification in Canada. Whether you’re re-entering the country or proving your residency, this document is legally binding. Submitting non-compliant images can lead to unnecessary delays or even rejection.
IRCC requires your photos to reflect your current appearance, meaning they must be taken within the last six months. This rule ensures accuracy for biometric verification systems. Below, we break down the critical requirements:
| Requirement | Details |
|---|---|
| Validity Period | Max 6 months old |
| Formats Accepted | Digital (for online submissions) and physical (50×70 mm) |
| Biometric Use | Must match facial recognition standards |
Many applicants overlook the dual format rule. If you’re applying online, your digital image must meet resolution and size criteria. For mailed submissions, the physical copy should be crisp and unaltered.
Remember: A single error—like incorrect lighting or an outdated image—can freeze your application for weeks. Always double-check IRCC’s latest guidelines before submitting.
PR Photo Size and Dimensions
Accurate sizing ensures your submission meets IRCC’s strict standards. Even minor deviations can trigger delays or rejections. Here’s how to get it right.

Exact Measurements for Your Photo
Your physical copy must be 50 mm × 70 mm (2 × 2¾ inches wide). Digital submissions require equivalent proportions at 420×600 pixels.
Face height should measure 31–36 mm (1¼ to 1⁷⁄₁₆ inches wide) from chin to crown. Use a ruler or IRCC’s online template to verify.
Face and Shoulder Positioning
Center your head within the frame, with shoulders squared and visible. Keep a neutral expression and eyes open.
Avoid these errors:
- Cropping too close or leaving excess space.
- Tilting your head or slouching shoulders.
- Using low-resolution printers for physical copies.
Pro tip: Apps like Canva or IRCC’s photo tool can auto-adjust dimensions. Double-check before uploading to the visa portal.
General PR Photo Specifications
Getting your background right is the first step to a compliant submission. IRCC’s guidelines leave no room for error—every detail, from lighting to facial visibility, impacts approval. Below, we break down the non-negotiable requirements.

Background Requirements
Your image must have a plain white background without textures, patterns, or shadows. Even faint gradients can trigger rejections. For DIY setups:
- Use a white wall or tape poster board behind you.
- Ensure no shadows fall near your ears or head.
- Avoid backlighting that creates a “halo” effect.
IRCC’s contrast ratios require the face to stand out clearly against the backdrop. Test with editing tools if unsure.
Lighting and Clarity
Balanced lighting is key. Harsh flashes create shadows, while dim rooms reduce clarity. Aim for:
- Natural light from a window (diffused by a curtain).
- Two soft artificial lights at 45-degree angles.
- Avoid reflections on skin or glasses.
Your eyes must be fully visible, with no red-eye or glare. IRCC’s biometric scanners rely on crisp details.
Facial Expression and Accessories
Maintain a neutral expression—no smiles or frowns. Religious headwear is permitted if it doesn’t obscure your face. For glasses:
- Frames must not cover your eyes.
- Remove tinted lenses to prevent glare.
- No sunglasses or eyewear with thick rims.
Tip: Review IRCC’s gallery of approved examples before finalizing your submission.
Common Mistakes to Avoid with PR Photos
Nearly a quarter of Canada visa applications face delays due to avoidable image errors. IRCC rejects 23% of submissions for outdated photographs or technical flaws. Here’s how to sidestep the top pitfalls.

Incorrect Size or Cropping
Even a 2mm deviation from IRCC’s 50×70 mm requirement can trigger rejection. DIY cropping often misses these specifications:
- Face height must be 31–36 mm (chin to crown).
- Digital versions need 420×600 pixels—no compression.
- Leave a 5mm margin around the head.
Pro tip: Use IRCC’s online template or visit Walmart/Shoppers Drug Mart for guaranteed sizing. Their services cost $10–$15, cheaper than reapplying.
Poor Lighting or Shadows
Harsh flashes or dim rooms create glare or shadows, confusing biometric scanners. For home camera setups:
- Use diffused natural light—no direct sunlight.
- Position lamps at 45-degree angles to eliminate face shadows.
- Avoid reflective surfaces (e.g., glasses, glossy makeup).
IRCC’s systems flag low-contrast images instantly. Test yours with editing tools before submitting.
Non-Compliant Attire or Backgrounds
Winter coats or patterned shirts violate IRCC’s rules. Seasonal attire tips:
- Solid colours—no logos or busy patterns.
- Religious headwear allowed if the face is fully visible.
- Plain white background (no textures or shadows).
Note: IRCC’s AI detects digital alterations. Even removing blemishes can cause rejection. Stick to untouched photographs.
Digital vs. Printed PR Photos: What You Need
Whether uploading online or mailing physical copies, your PR images must meet exact technical criteria. IRCC accepts both formats, but deviations can halt processing. Here’s how to navigate each option flawlessly.

Online Submission Requirements
Digital submissions require 1200×1680 pixels, with your face occupying 50% of the height. Follow these steps for a smooth upload:
- Use IRCC’s portal: Resize images to 420×600 pixels if prompted.
- Avoid compression—JPEG or PNG formats only.
- Test clarity with tools like PhotoAiD before submitting.
Pro tip: Mobile apps like 7ID auto-adjust dimensions, reducing rejection risks.
Printed Photo Guidelines
For paper copies, use 4×6-inch templates with two identical prints. Key specs:
- Matte or glossy paper (100–140 lb weight).
- Label the back with your name, date, and photographer’s address.
- Partner with approved services (e.g., Walmart, Staples) for guaranteed sizing.
Note: IRCC rejects low-ink prints or smudged edges. Verify every detail matches your passport standards.
Special Considerations for Children and Babies
Applying for a Canada visa with children? Special rules apply for young applicants. IRCC’s requirements account for smaller faces and mobility challenges, ensuring biometric systems can process their images accurately.

Newborn Photo Challenges
Infants under 3 months need creative setups. Use a car seat draped with a plain white blanket for support. Keep their shoulders visible and hands hidden—no toys or pacifiers allowed.
Timing matters: schedule photography after naps or feedings for a calm, neutral expression. Natural light works best to avoid startling flashes.
Child-Specific Rules
IRCC adjusts requirements by age:
- 0–3 months: Lay flat on a white sheet with head support (rolled towel under the blanket).
- 4+ months: Highchair shots with a white backdrop, ensuring eyes are open.
Label the back with the child’s name and date. For special needs, contact IRCC for accommodations like angled seating.
Pro tip: For siblings, submit separate applications to avoid cropping issues in group photos.
Conclusion
Submitting the correct permanent resident card photo is your final step before approval. The Canada visa portal streamlines the process, but errors can still delay your application. Double-check these requirements before uploading:
Use IRCC-certified services for guaranteed compliance. Their expertise ensures your submission meets every technical detail. Refer to official documentation for updates on changing rules.
After submitting, track your application through the portal. Processing times vary, but accurate information upfront speeds up results. Need help? IRCC’s support team assists with last-minute queries.
Now you’re ready—submit confidently and start planning your next steps in Canada.


